Care and Maintenance
Wesley Campbell
Now that you’ve been playing your trumpet for a while, it’s a good idea to learn how to maintain it. Fortunately, the trumpet is pretty resilient, so oiling the valves and a thorough cleaning are most of the maintenance you should need to do. Before jumping into that, let’s look at some preventive measures to help you not have to clean quite so much, or as often.
One of the best things you can do for the cleanliness and workability of your trumpet is to limit what goes inside it. You should generally aim for only air and water to go into your horn. Water in this case being from your breath. Fun fact: the “spit valve” on you trumpet is actually called a water key because what comes out of your trumpet is almost entirely condensation from warm moist air hitting the colder interior brass. That said, anything in your mouth will likely travel along with your air (assuming you use adequate breath support), so if you just had a drink of something sugary (Coke, Dr. Pepper, Pepsi, etc.) you’re blowing a bit of sugar and acid (yep, there’s acid in there) into your trumpet as well. In small bits, that’s not really a big deal, but over time it can accumulate and start to eat through the brass… Seriously. So if you’re going to drink something before or during a playing session, try to limit it to water, or something very close to it, like an unsweetened tea or black coffee.
Likewise, food and trumpets don’t mix. The most obvious drawback is of an accidentally blown-in food chunk getting stuck somewhere and blocking airflow or valve motion. Additionally, smaller particles, even if they don’t “gum up the works” will break down over time and, you guessed it, start to corrode the brass from the inside out. There are two easy solutions here. First, don’t eat right before you play the trumpet. Second, if you’re in a time crunch and absolutely must eat right before, make sure you brush your teeth before you play. Your trumpet and your dentist will thank you.
Lubrication
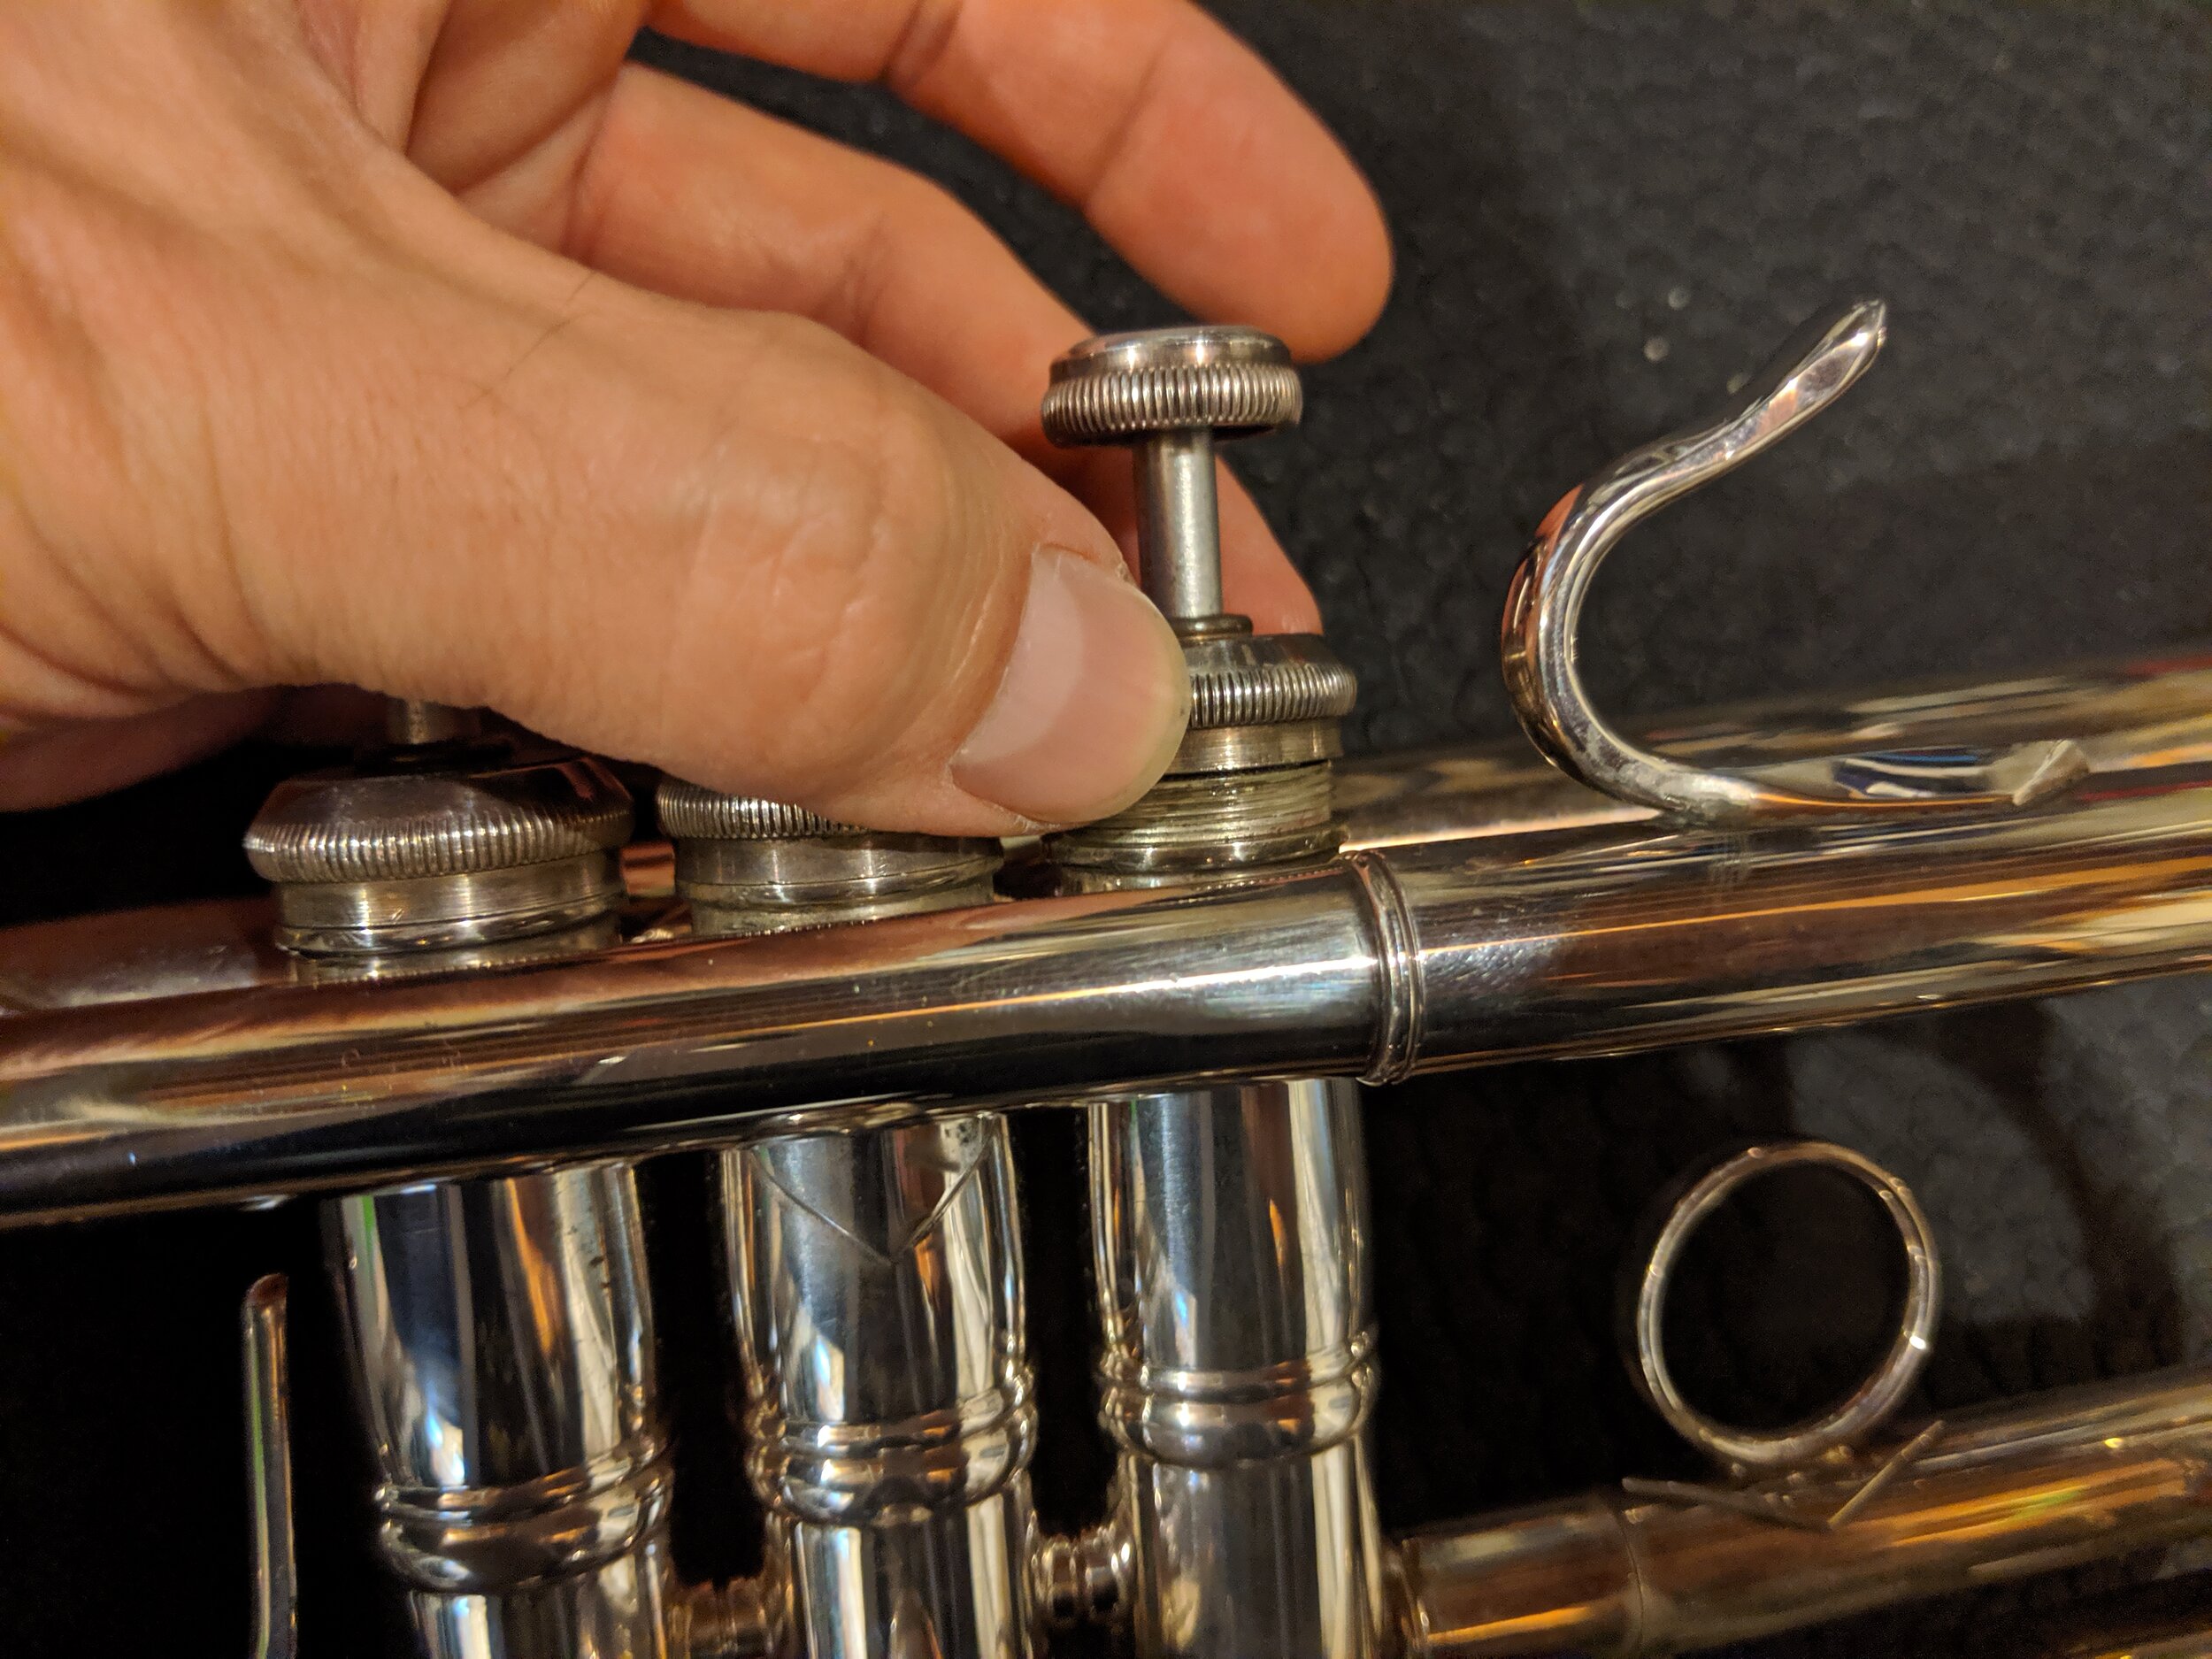
The primary maintenance a trumpet will need is keeping it adequately lubricated. This means keeping all the valves and slides moving smoothly. The valves are your primary movers, so we’ll start there. First things first, you will need valve oil. There are dozens of manufacturers of valve oil at this point. The fact of the matter is that most oils will work about the same as each other. A small warning, though, some combinations of different oils will actually congeal and make your valves slower. Pick an oil and stick to it. If you decide (or need) to change oils, make sure to clean your valves first, just in case. So, how do we oil our valves? First, unscrew the upper valve cap where it meets the casing.
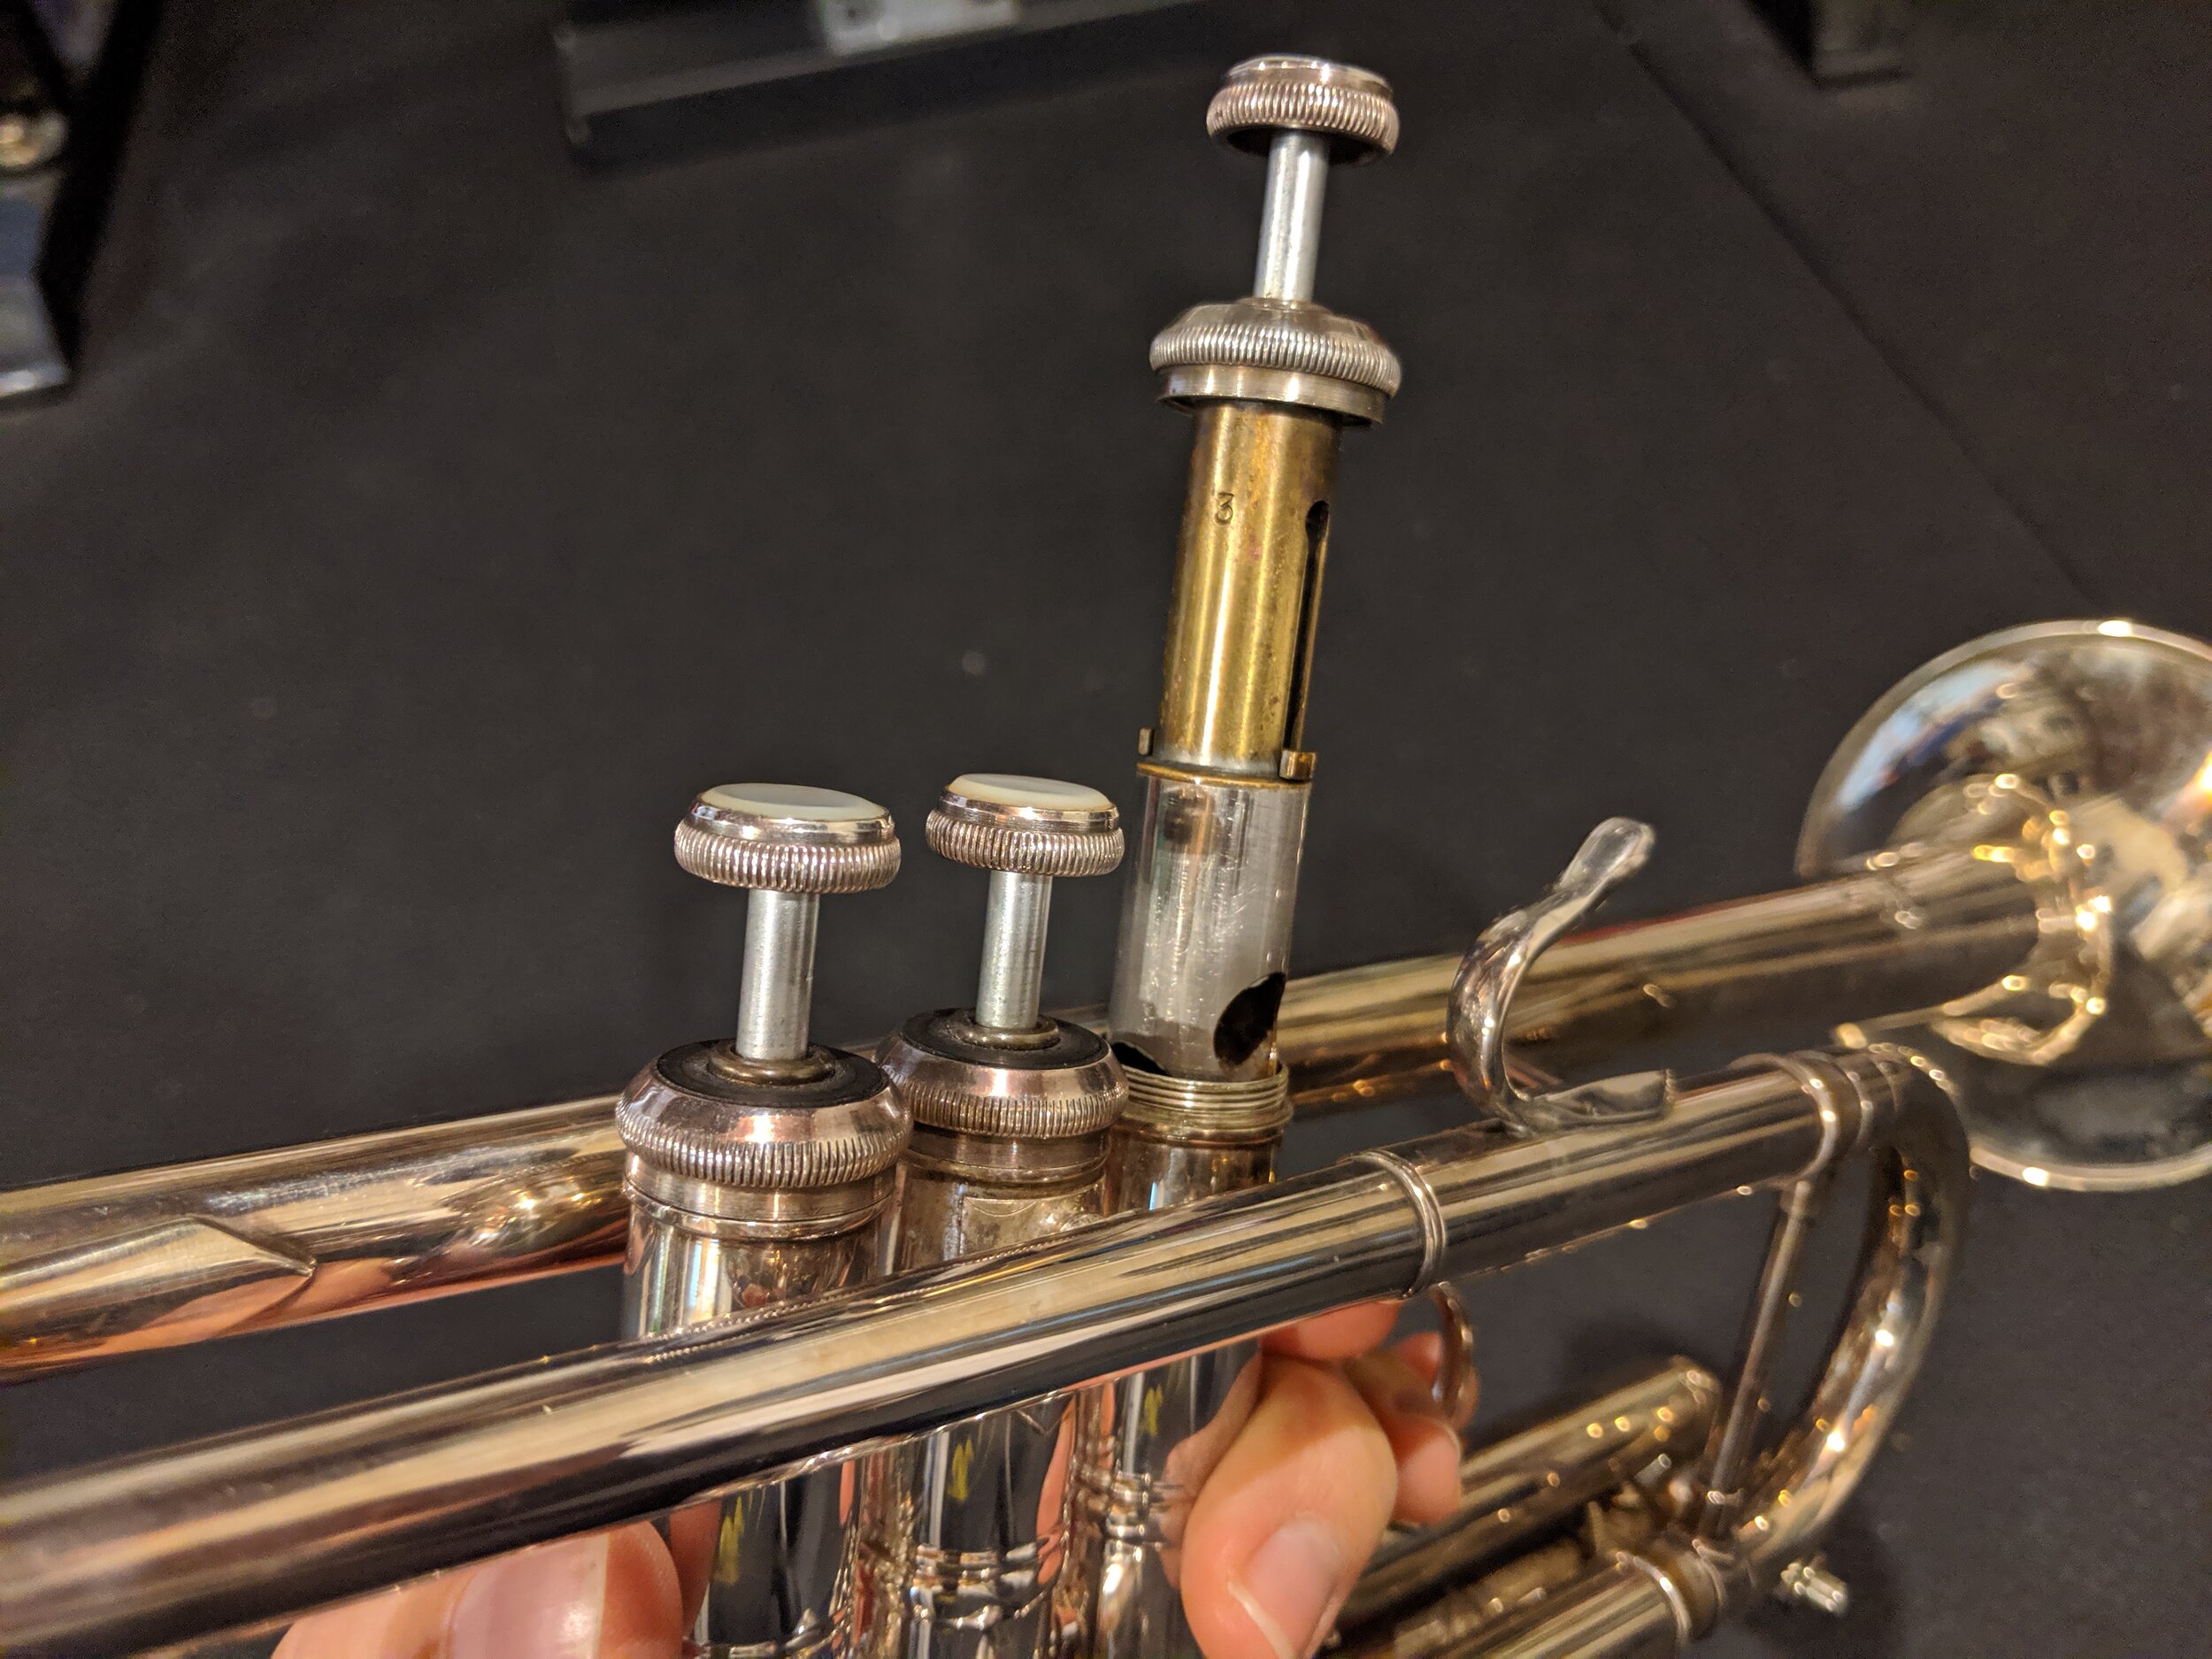
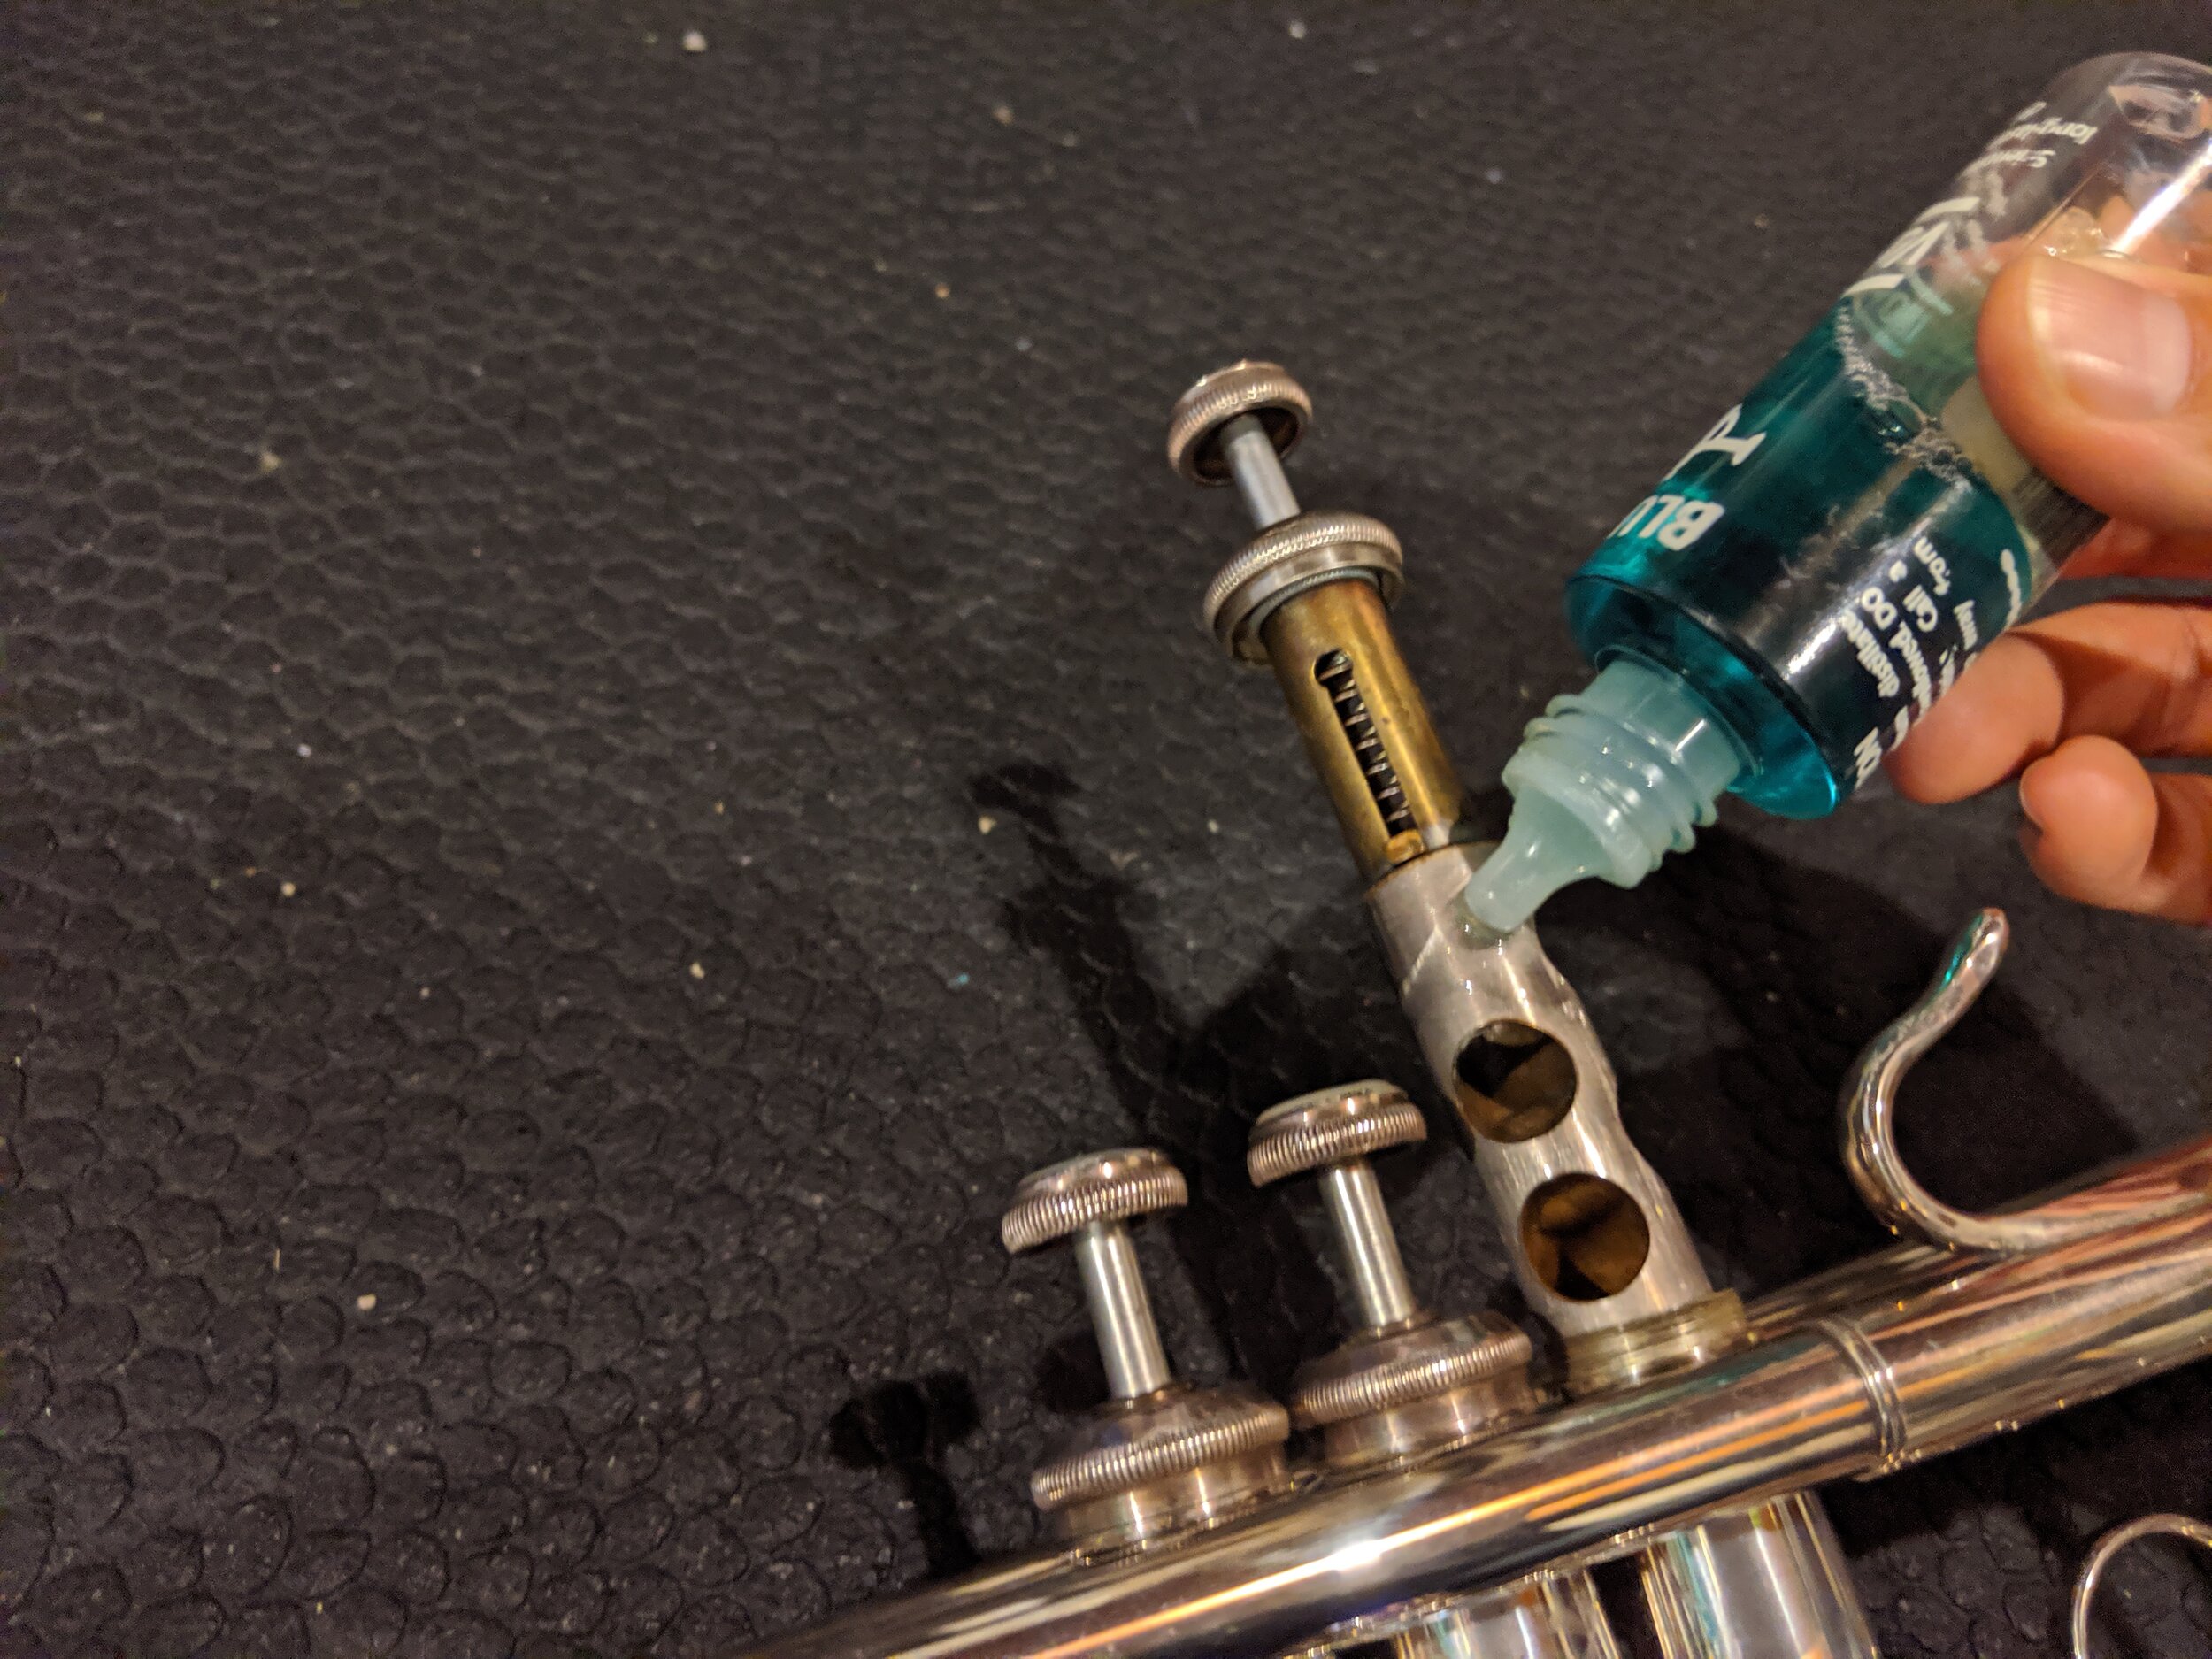
Then remove the valve, making note of the number on the upper half of the valve. The number will tell you which valve it is (useful if you take out all of them at once for cleaning) and all three numbers will face the same direction when replaced properly. For some manufacturers the numbers will face toward the mouthpiece, and others will face toward the bell. Pay close attention as a backward valve will block the air from moving. If there’s any noticeable build-up, dirt, or debris, wipe it off with a clean cloth or paper towel before adding oil. Add a line of oil on the main surface of the valve where it would make contact with the casing. Now put the valve back in (remembering which direction your numbers face). If you give a slight turn in both directions you should get a “click” when the valve guide at the base of the spring locks into its proper place. At this point, you can screw the valve cap back on and you’re good to go!
But wait! How much oil should I use? And how often should I oil the valves? Good questions. The answers, however are less good. The “correct” answers are that you should oil your valves as often as they need it, and only use enough to get them moving smoothly… Helpful, right? It is, however, true. Oiling more frequently won’t really help anything, and using too much oil ends up being wasteful. The good news here is that neither of those things will hurt anything. So if your valves start to slow down every couple weeks, try oiling them once a week. Obviously, your timeframe will vary based on how much you play. During the busiest times of year I end up oiling my valves every few days, and in the slower stretches (and depending on which trumpet/oil combination we’re talking about) it could be a month between oil applications. See what works for you and adjust as needed, but err on the side of too frequently. As for the amount of oil, a thin line along the contact surface is usually enough, but depending on the age and cleanliness of your horn, that might not be. If you’re worried about putting too much oil on, don’t be. Simply remove the bottom valve caps and any extra oil will drain out the bottom. CAUTION: Valve oil can be extremely hard to remove from certain fabrics, so if you’re wearing nice clothes you should place a towel under the valve section to catch any drips. Denim is the only fabric I’ve yet had consistently wash clean from valve oil.
Now that the valves have been oiled, let’s look at the slides. There are 4 slides on the trumpet: the main tuning slide and one valve slide for each valve. As they serve different purposes, they’ll have to be treated differently in lubricating them.
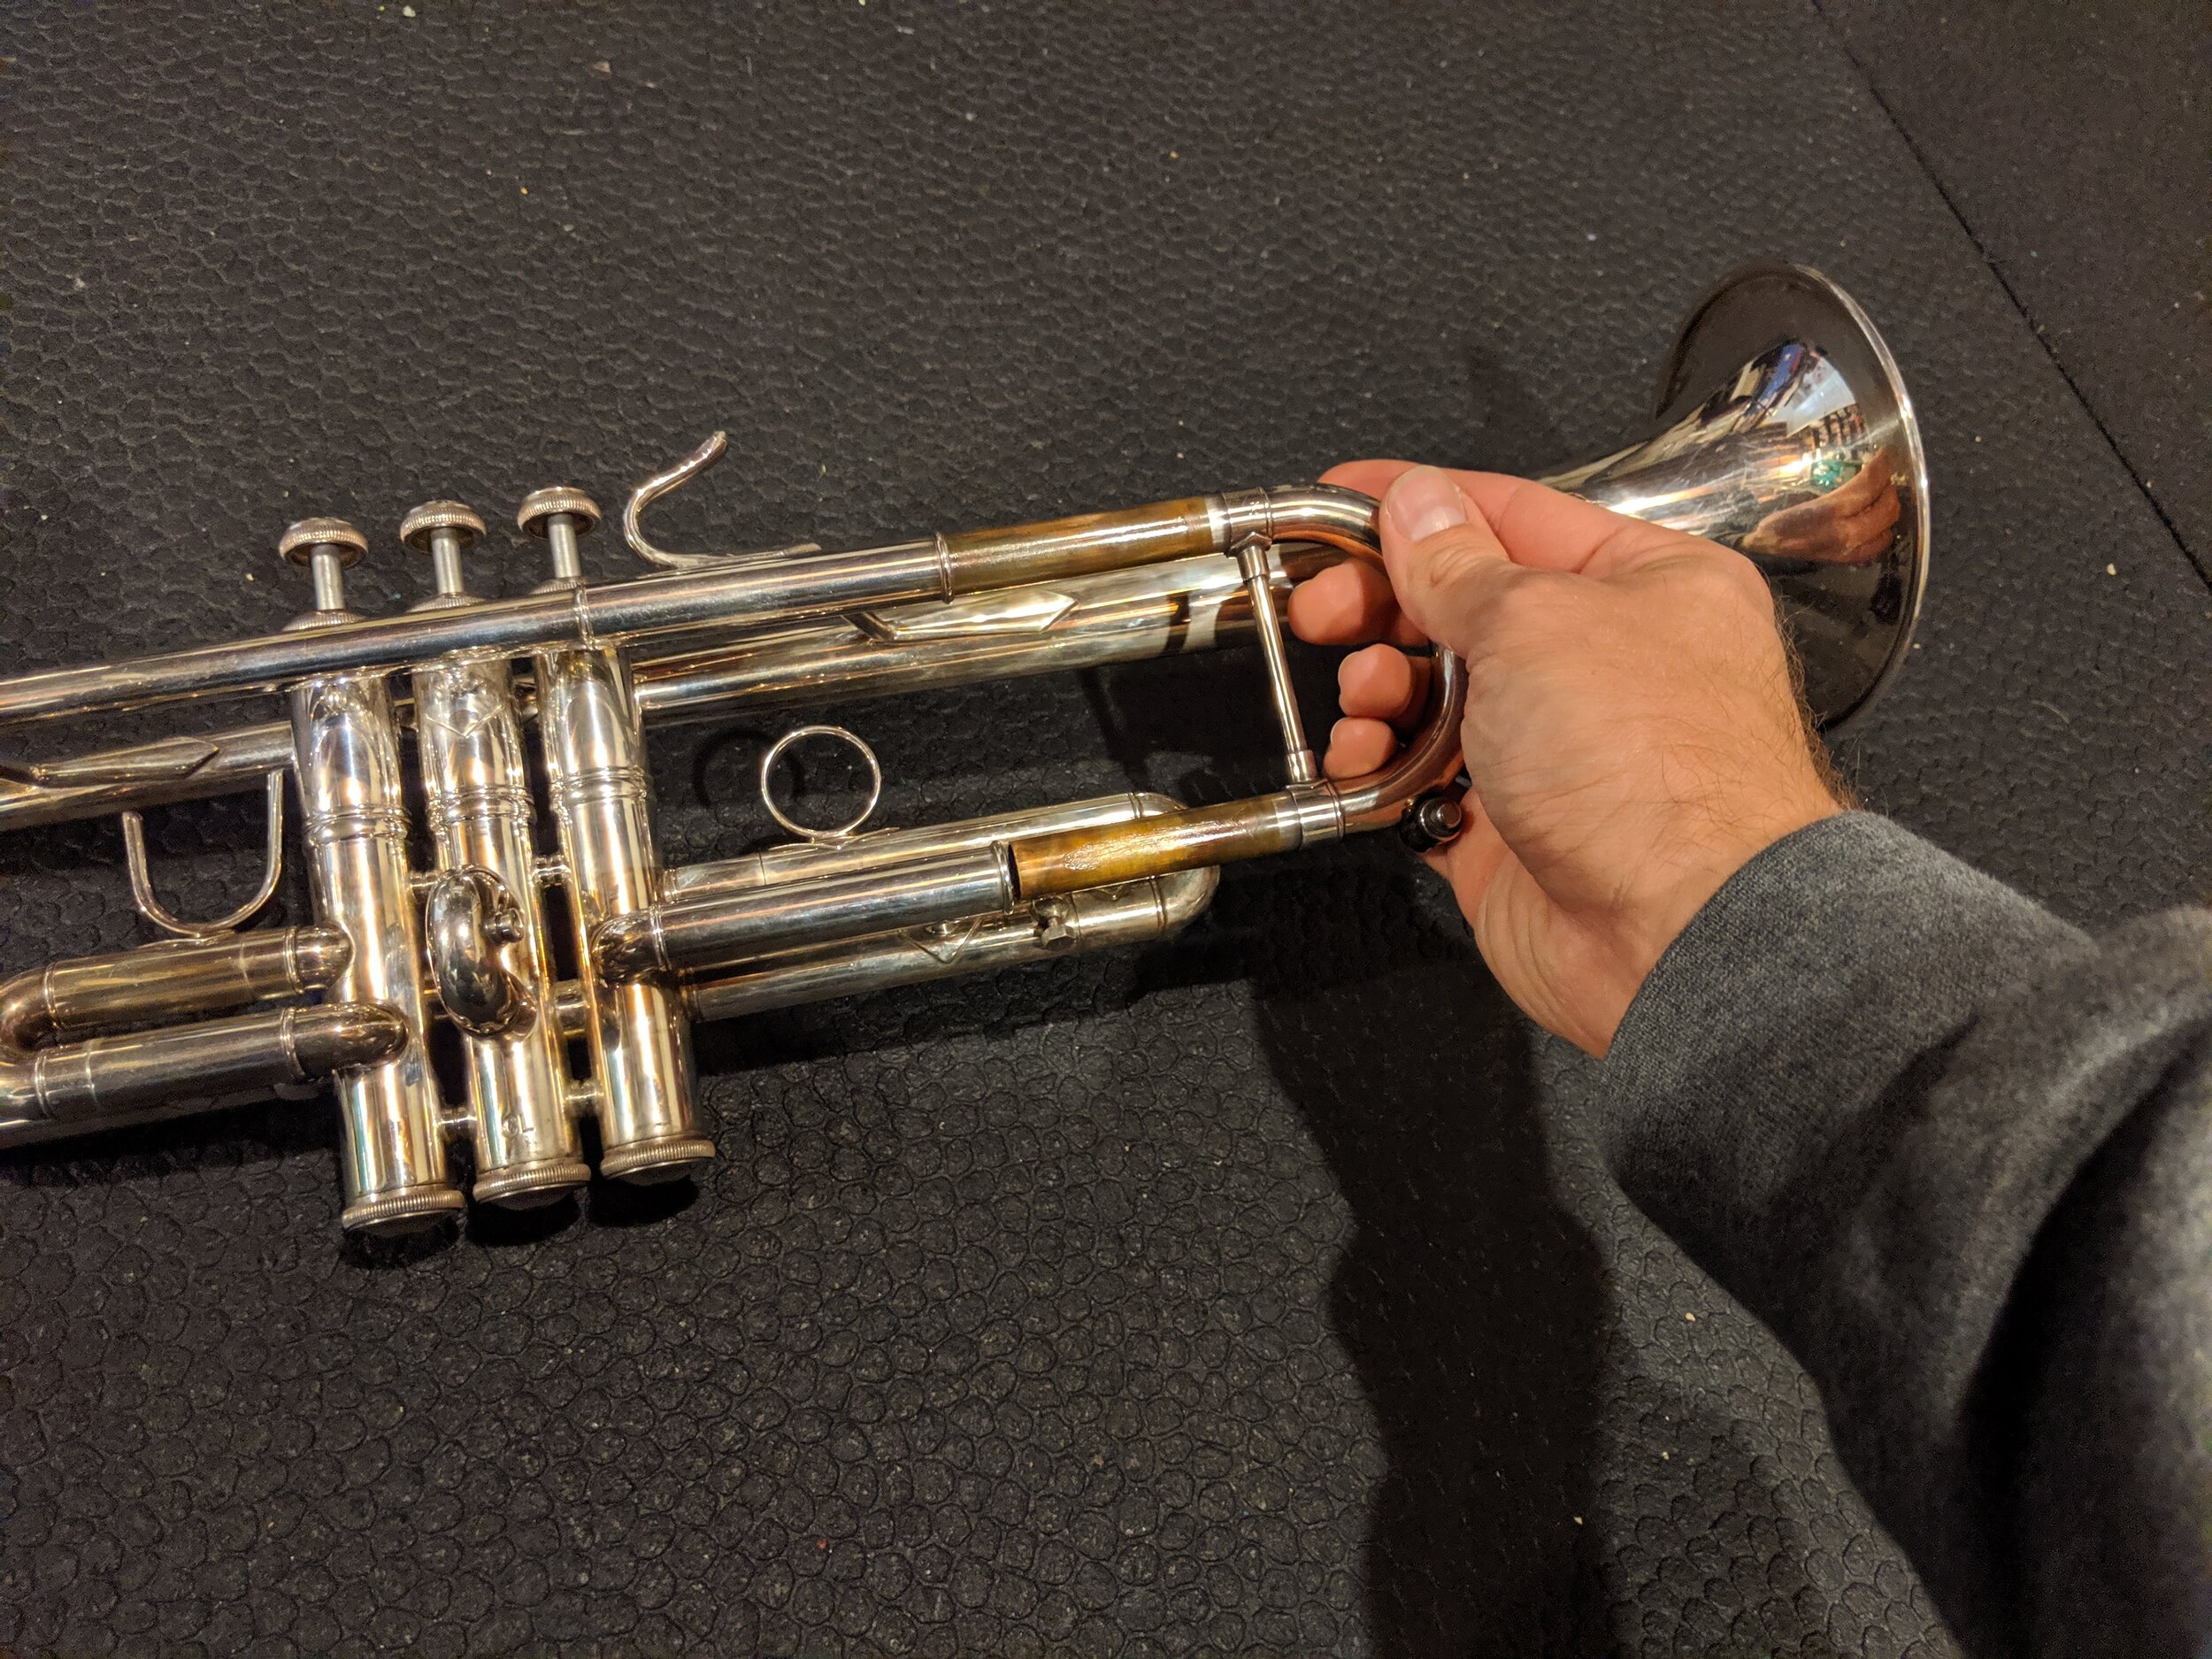
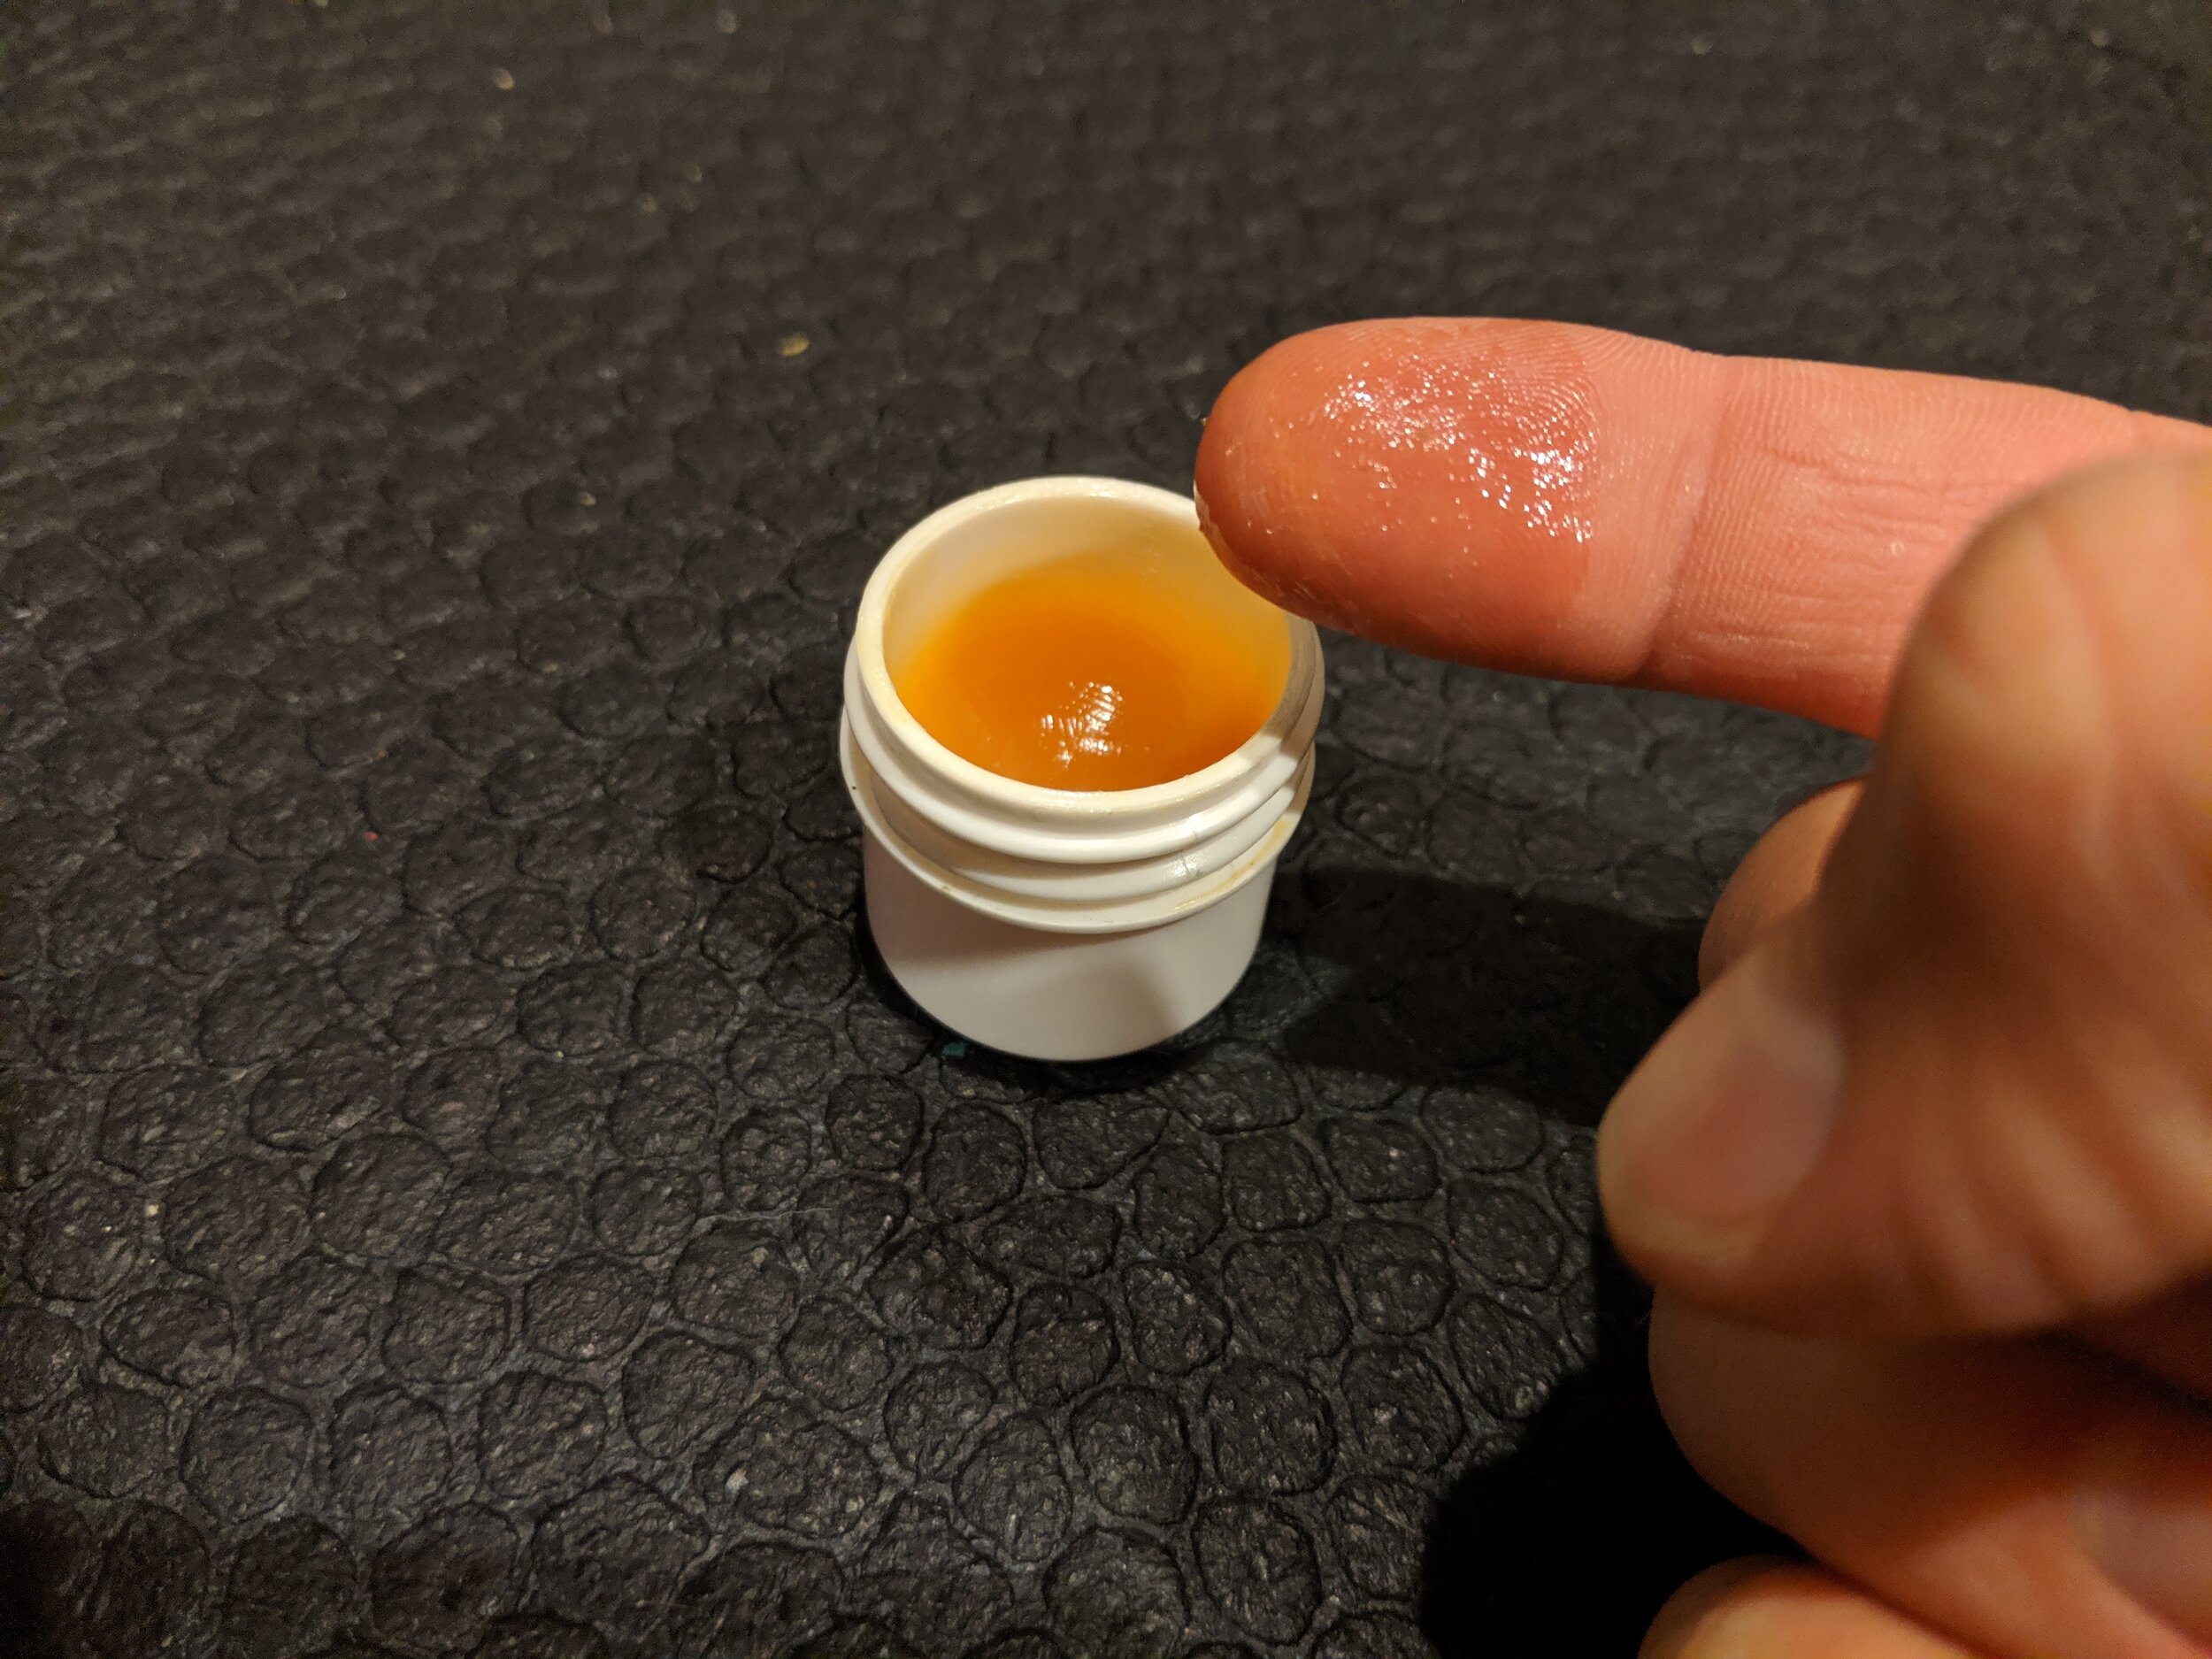
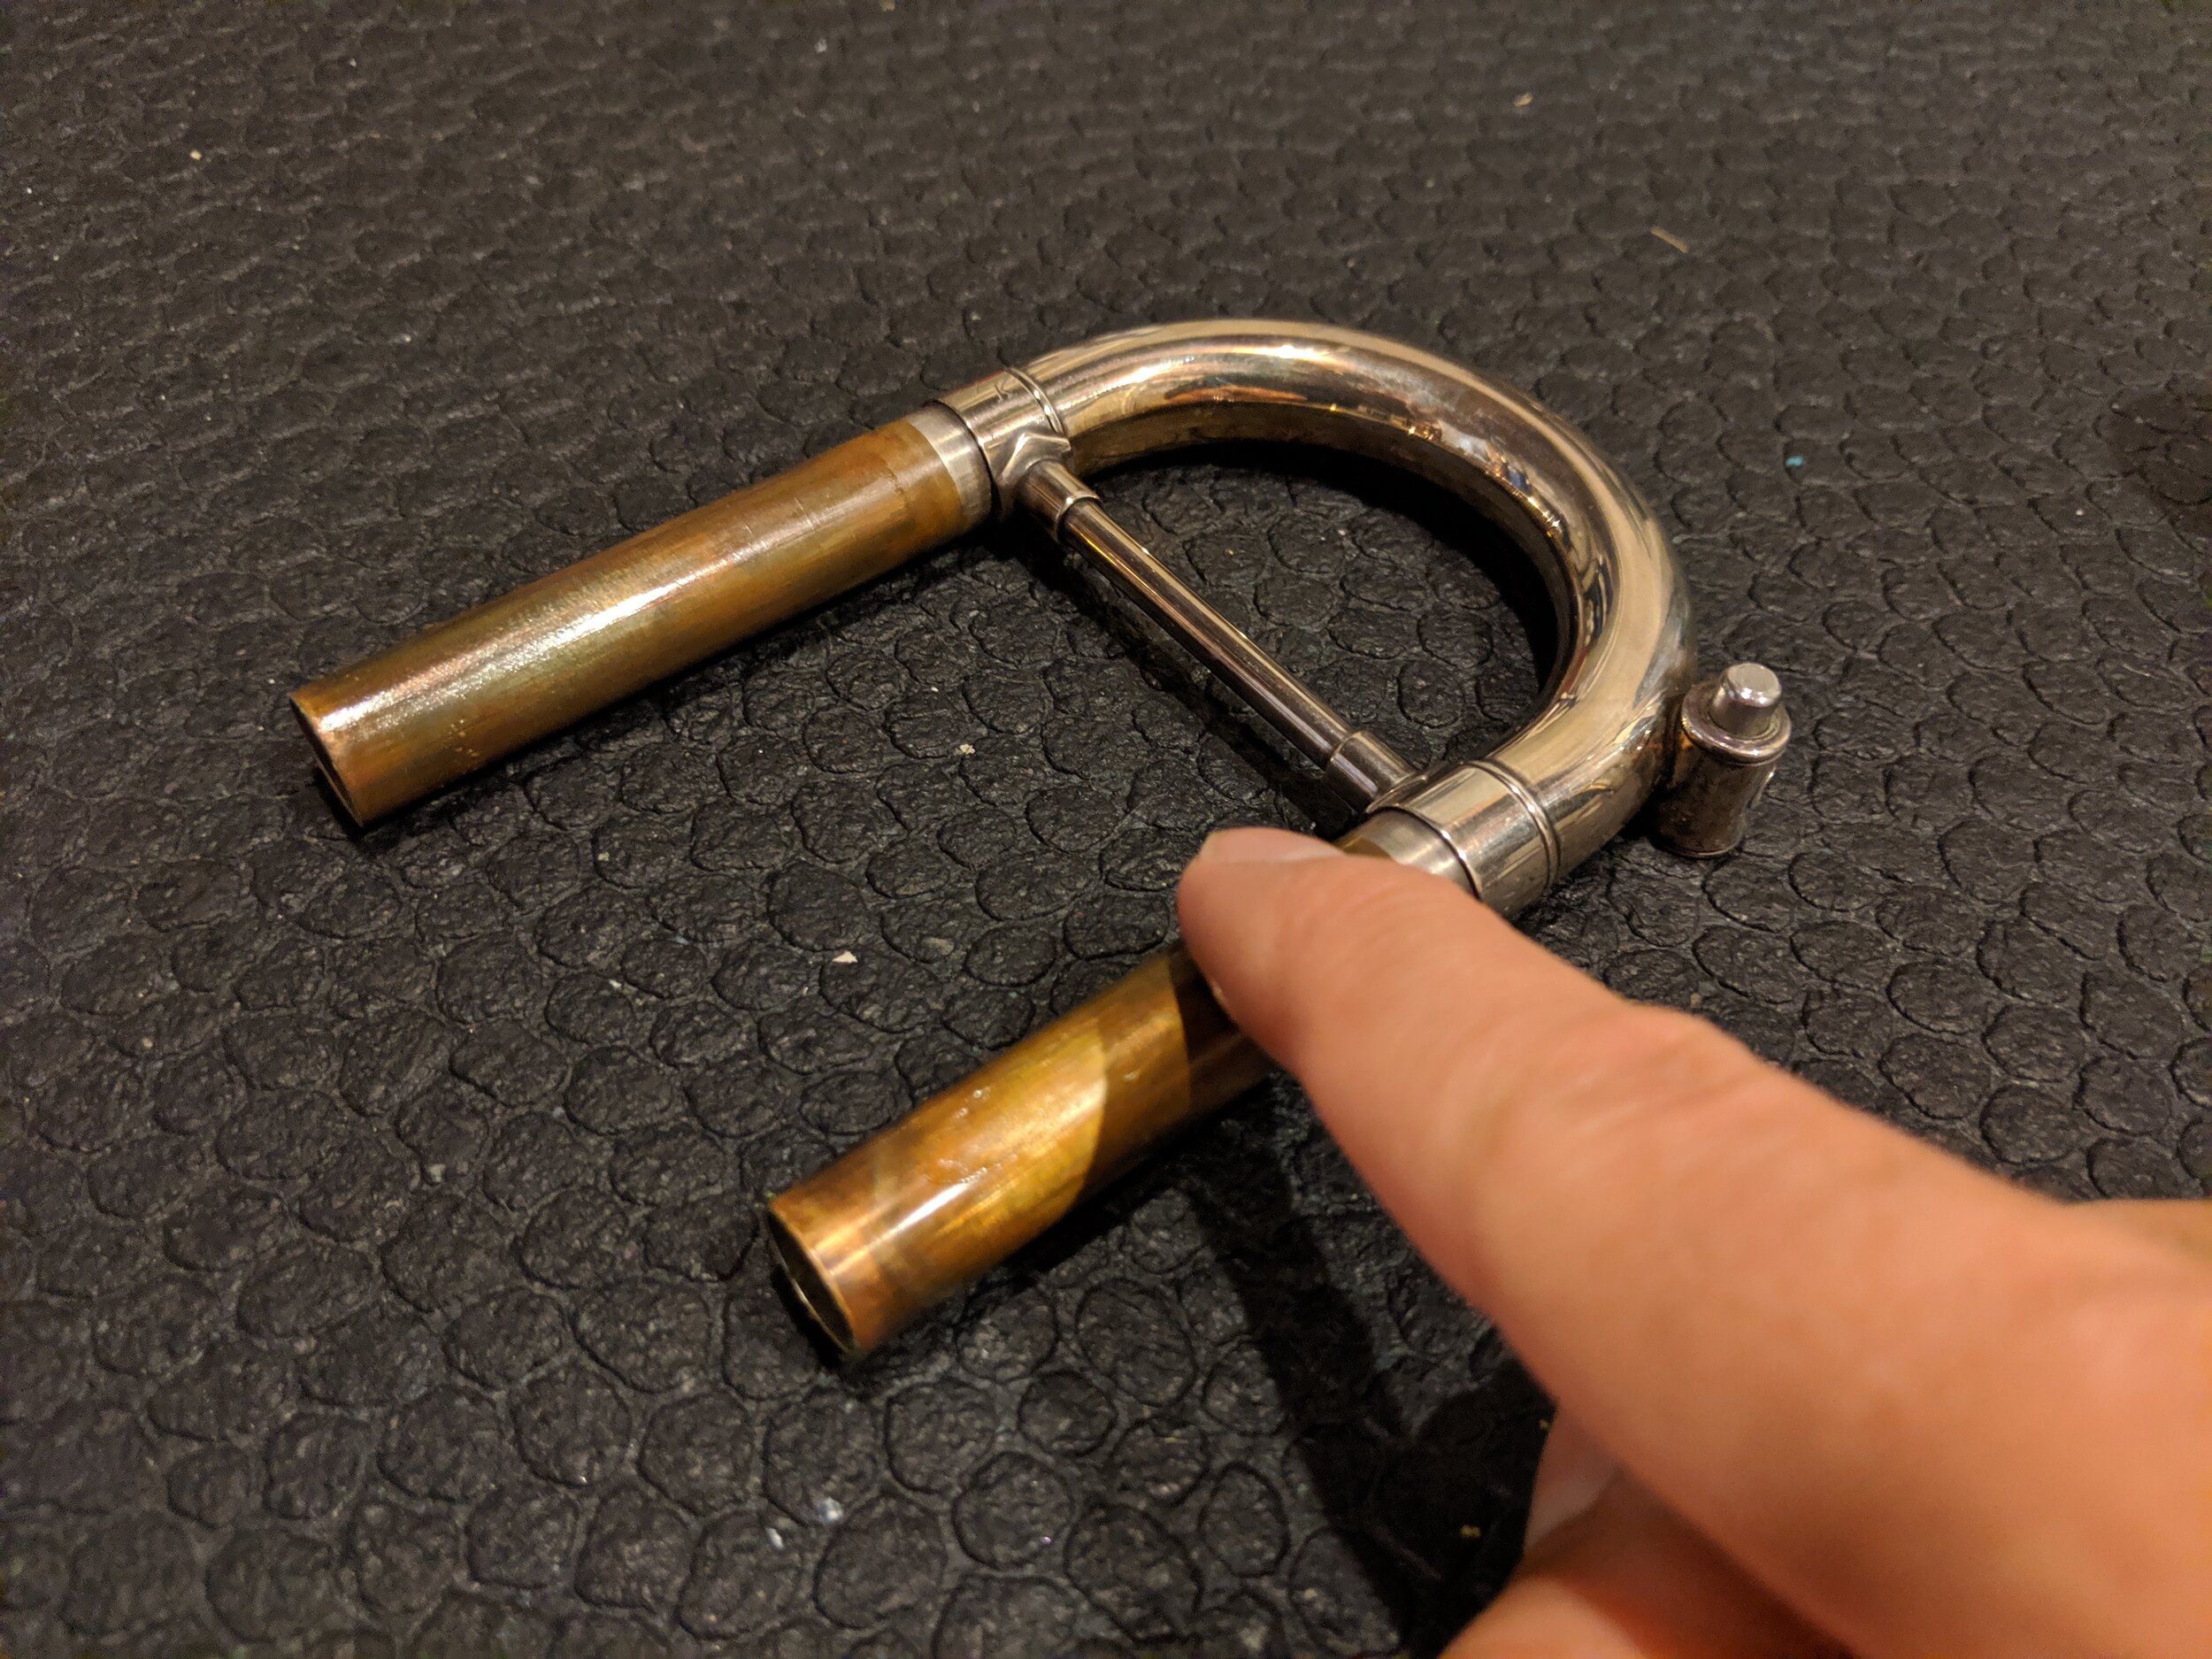
The main tuning slide is the easiest. It needs to be able to move, but it is supposed to be slow and take an intentional effort to move. There are probably as many slide greases as there are valve oils and, once again, most of them perform just as well as every other one. Unless your tuning slide moves out from the air pressure of playing or slowly falls out under its own weight, you should be fine with any standard slide grease. [If your slide is particularly loose, try Hetman Ultra slide grease or see a local brass instrument repair technician.] These will likely either be petroleum or lanolin based and, in my experience, neither outperforms the other. I find the lanolin grease smell a tad nicer (and it can be used to condition leather in a pinch), but it can also be harder to find at local music shops. The choice is yours here. To grease the tuning slide, first you need to remove it.
Once out, wipe off the slide surfaces with a clean rag to remove any old grease, grime, and gunk. Now, use your finger to apply grease to your slide, ensuring a thin, even coat. Then put it back in. That’s it!
The second valve slide will use the same process as the main tuning slide. Because it is so small, though, it will typically need an even thinner layer of grease. Just enough so that it’s removable, but not movable. The first valve slide has two possibilities. If you don’t have a thumb saddle on the slide, the process is once again the same as the main tuning slide. If you do have a thumb saddle, then the process changes up a bit and becomes the same process described next for the third valve slide.
The third valve slide (and first valve slide if it has a thumb saddle) is designed to be moveable while playing in order to compensate for the tuning deficiencies inherent in a valved instrument. If you remember from Changing notes, the 13 and 123 valve combinations are always too short, so the third valve slide is used to correct that (the first slide is used for a similar purpose, but that’s for a later article). This means the slide needs to be able to move, and to be moved easily. Regular slide grease won’t allow for a quick enough motion, so this is where we either use a specialty product (Spacefiller TS works well) or a combination of grease and oil. You'll want to start off just as you did for the main tuning slide by applying grease. Once the grease is on, start by adding a drop or two of valve oil and then moving the slide in and out to incorporate it. If you find the slide sticking you probably need more grease. On the opposite end of that if the slide is too sluggish, add some oil. This will be a process of trial and error because the feel of the slide at this point is one of personal preference.
Cleaning
Now that we've covered lubrication, it's time to look at how to clean your trumpet. Let me first say that there really is no substitute for having your horn chemically cleaned by a professional. If you have a good music store accessible to you, they should be able to thoroughly clean your trumpet much better than we can on our own. That said, it's impractical to have this done every time the trumpet needs to be cleaned. Cleaning at home really isn't that hard, doesn't take long, and only requires a few specialty tools and, optionally, a sink or tub that holds water.
Before you get started, know that you don’t need to clean the trumpet in a bath every time. Routine cleaning (every few months) can be done with just brushes and a rag. About once a year or so, you’ll want to get in a more thorough cleaning. This is where the bath comes in. When you want to give your trumpet a full bath, the first thing you're going to want is some kind of degreaser. This will help remove all the residual oil and grease from the inside of your trumpet, including all the nooks and crannies we can’t get with a brush or cloth. As good as oil and grease are at keeping your valves and slides moving, they are also excellent at attracting and holding onto dirt and gunk of all types. You don't need to go overboard on a degreaser.
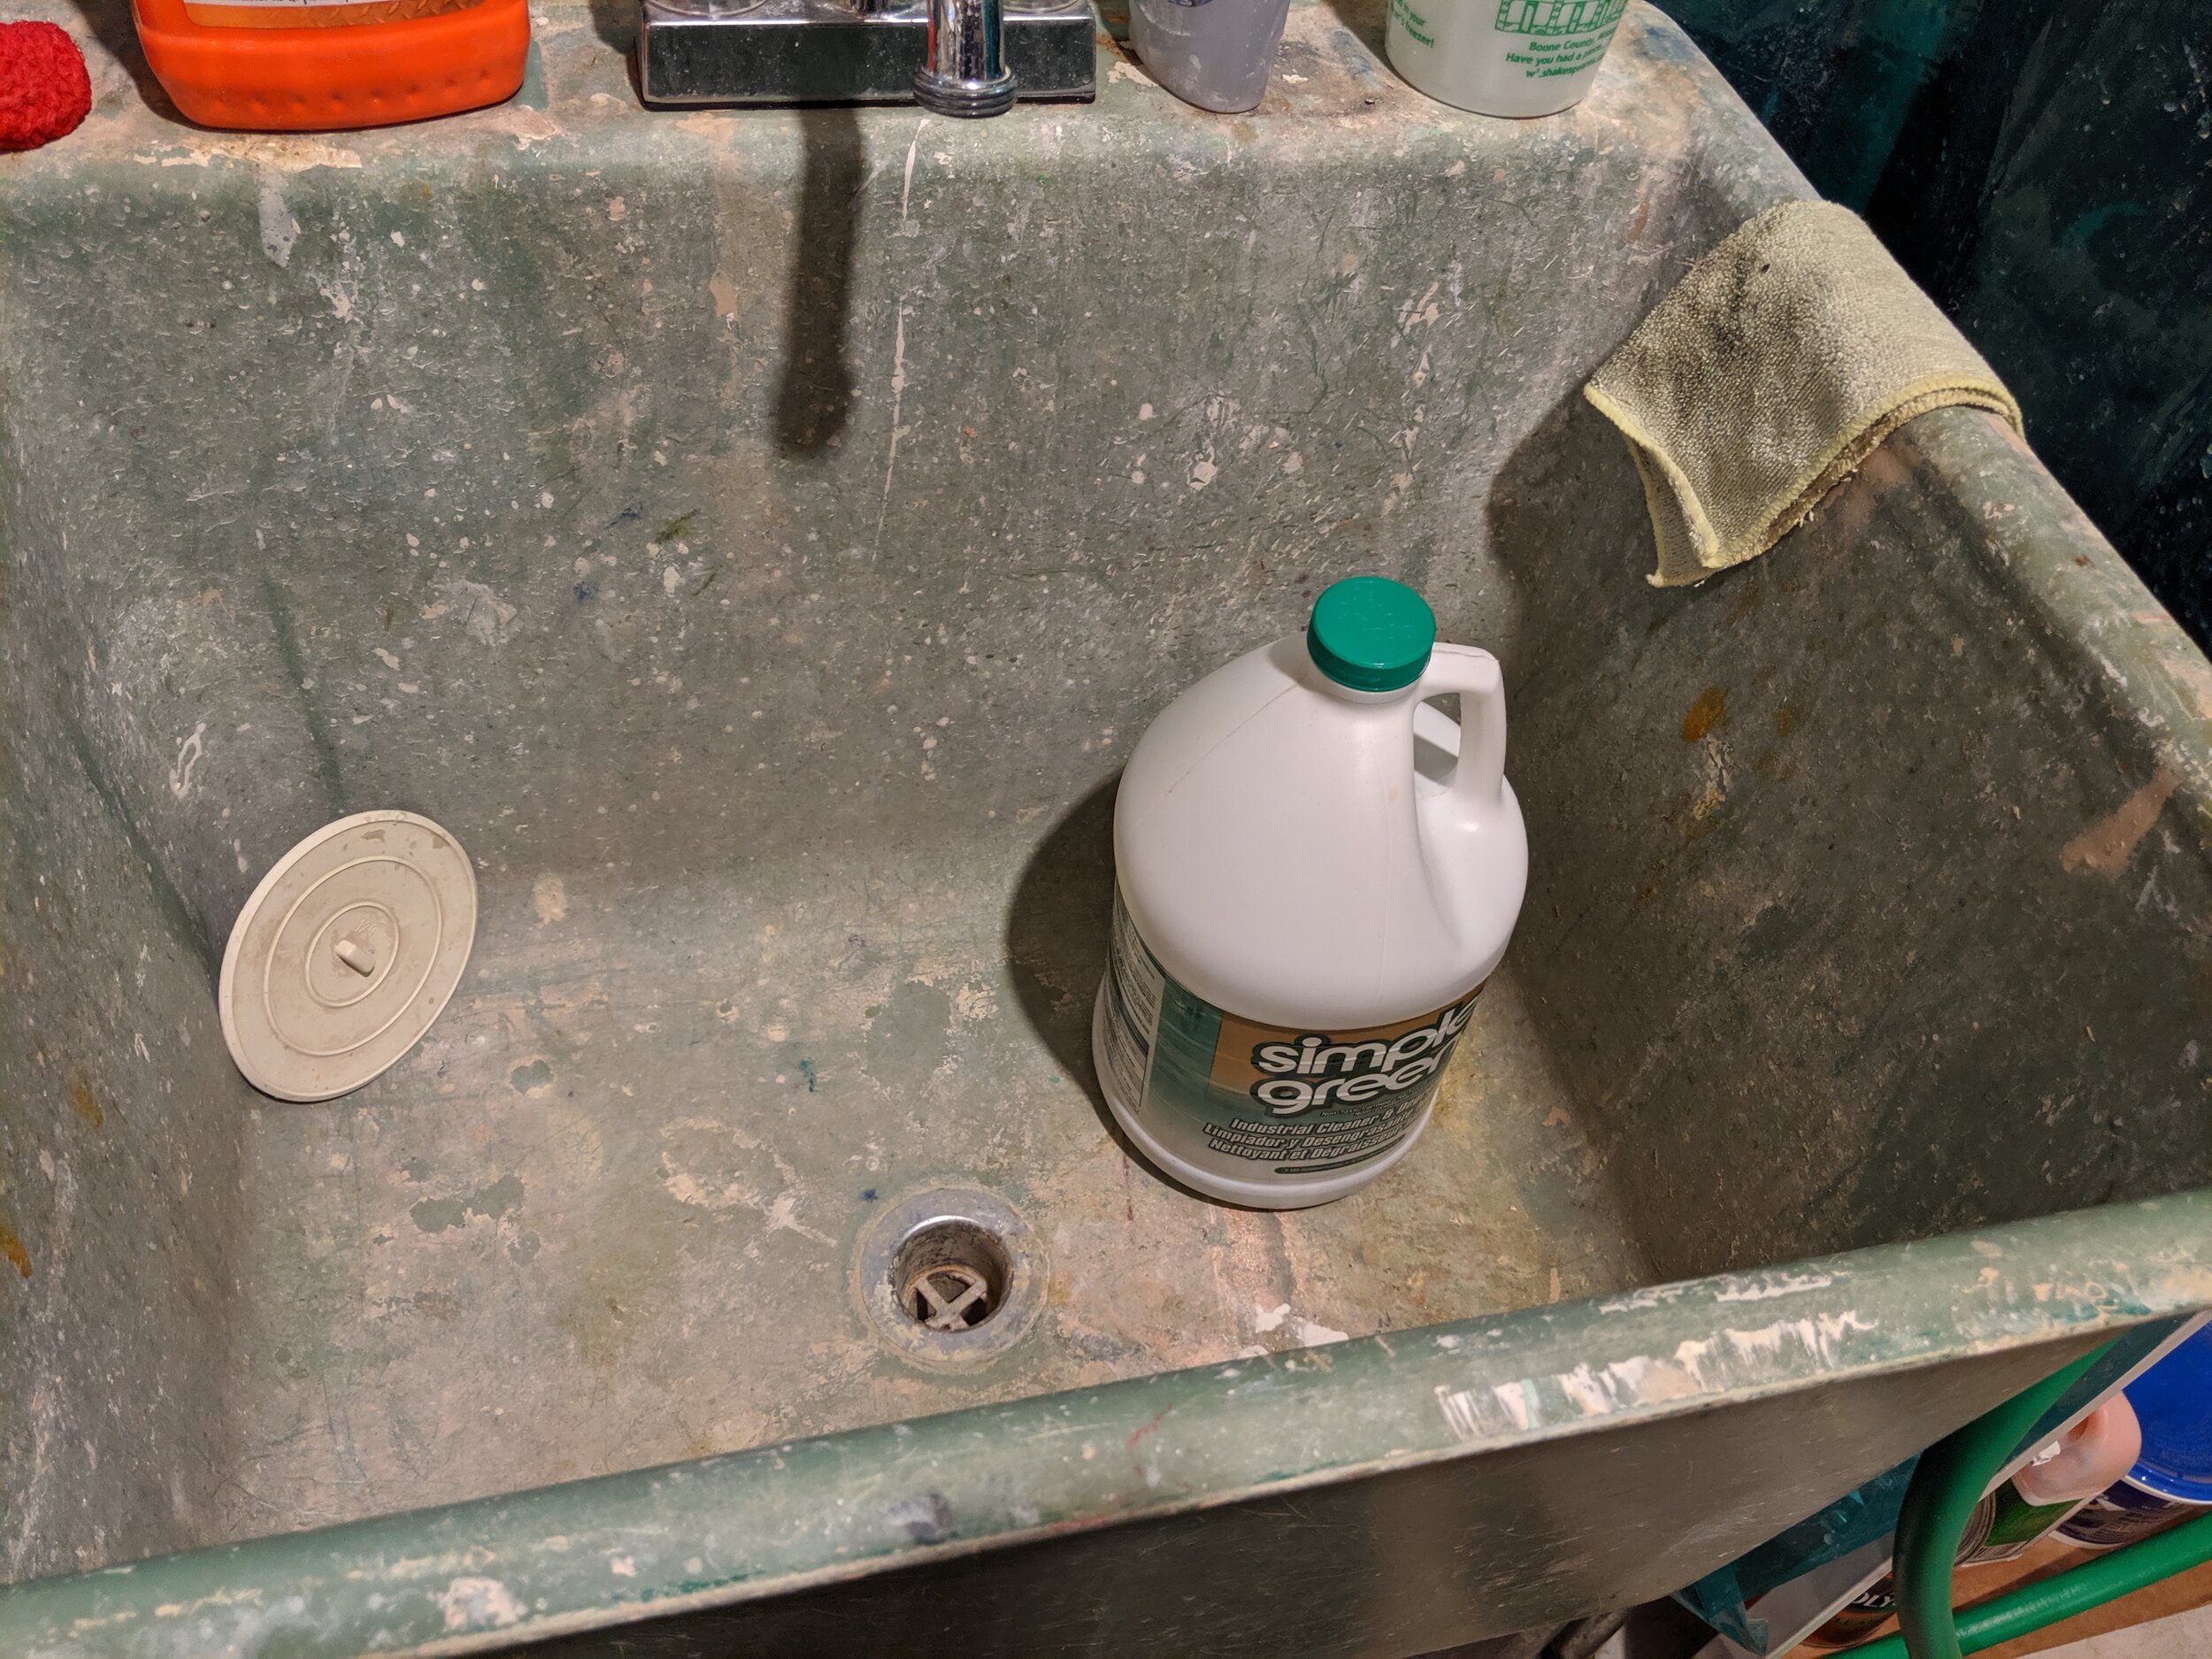
Personally, I use a degreaser called Simple Green that is available at pretty much any hardware store. You can also get decent results using a dish soap. Whichever you choose, make sure you dilute it so you're not getting a lot of suds, because that will just make the cleaning process take longer when you're rinsing everything out. I find that a few good splashes of degreaser into a half-full shop sink is more than enough, and soap needs even less to be effective. Caution: If you plan on using a bathtub or sink that is enamel coated, you may want to place a towel in the bottom as it fills with water, as the parts of the trumpet moving around may scratch through that protective coating. This is one of the reasons that I typically use my laundry room shop sink as it's made of plastic and I don't care if it gets scratched.
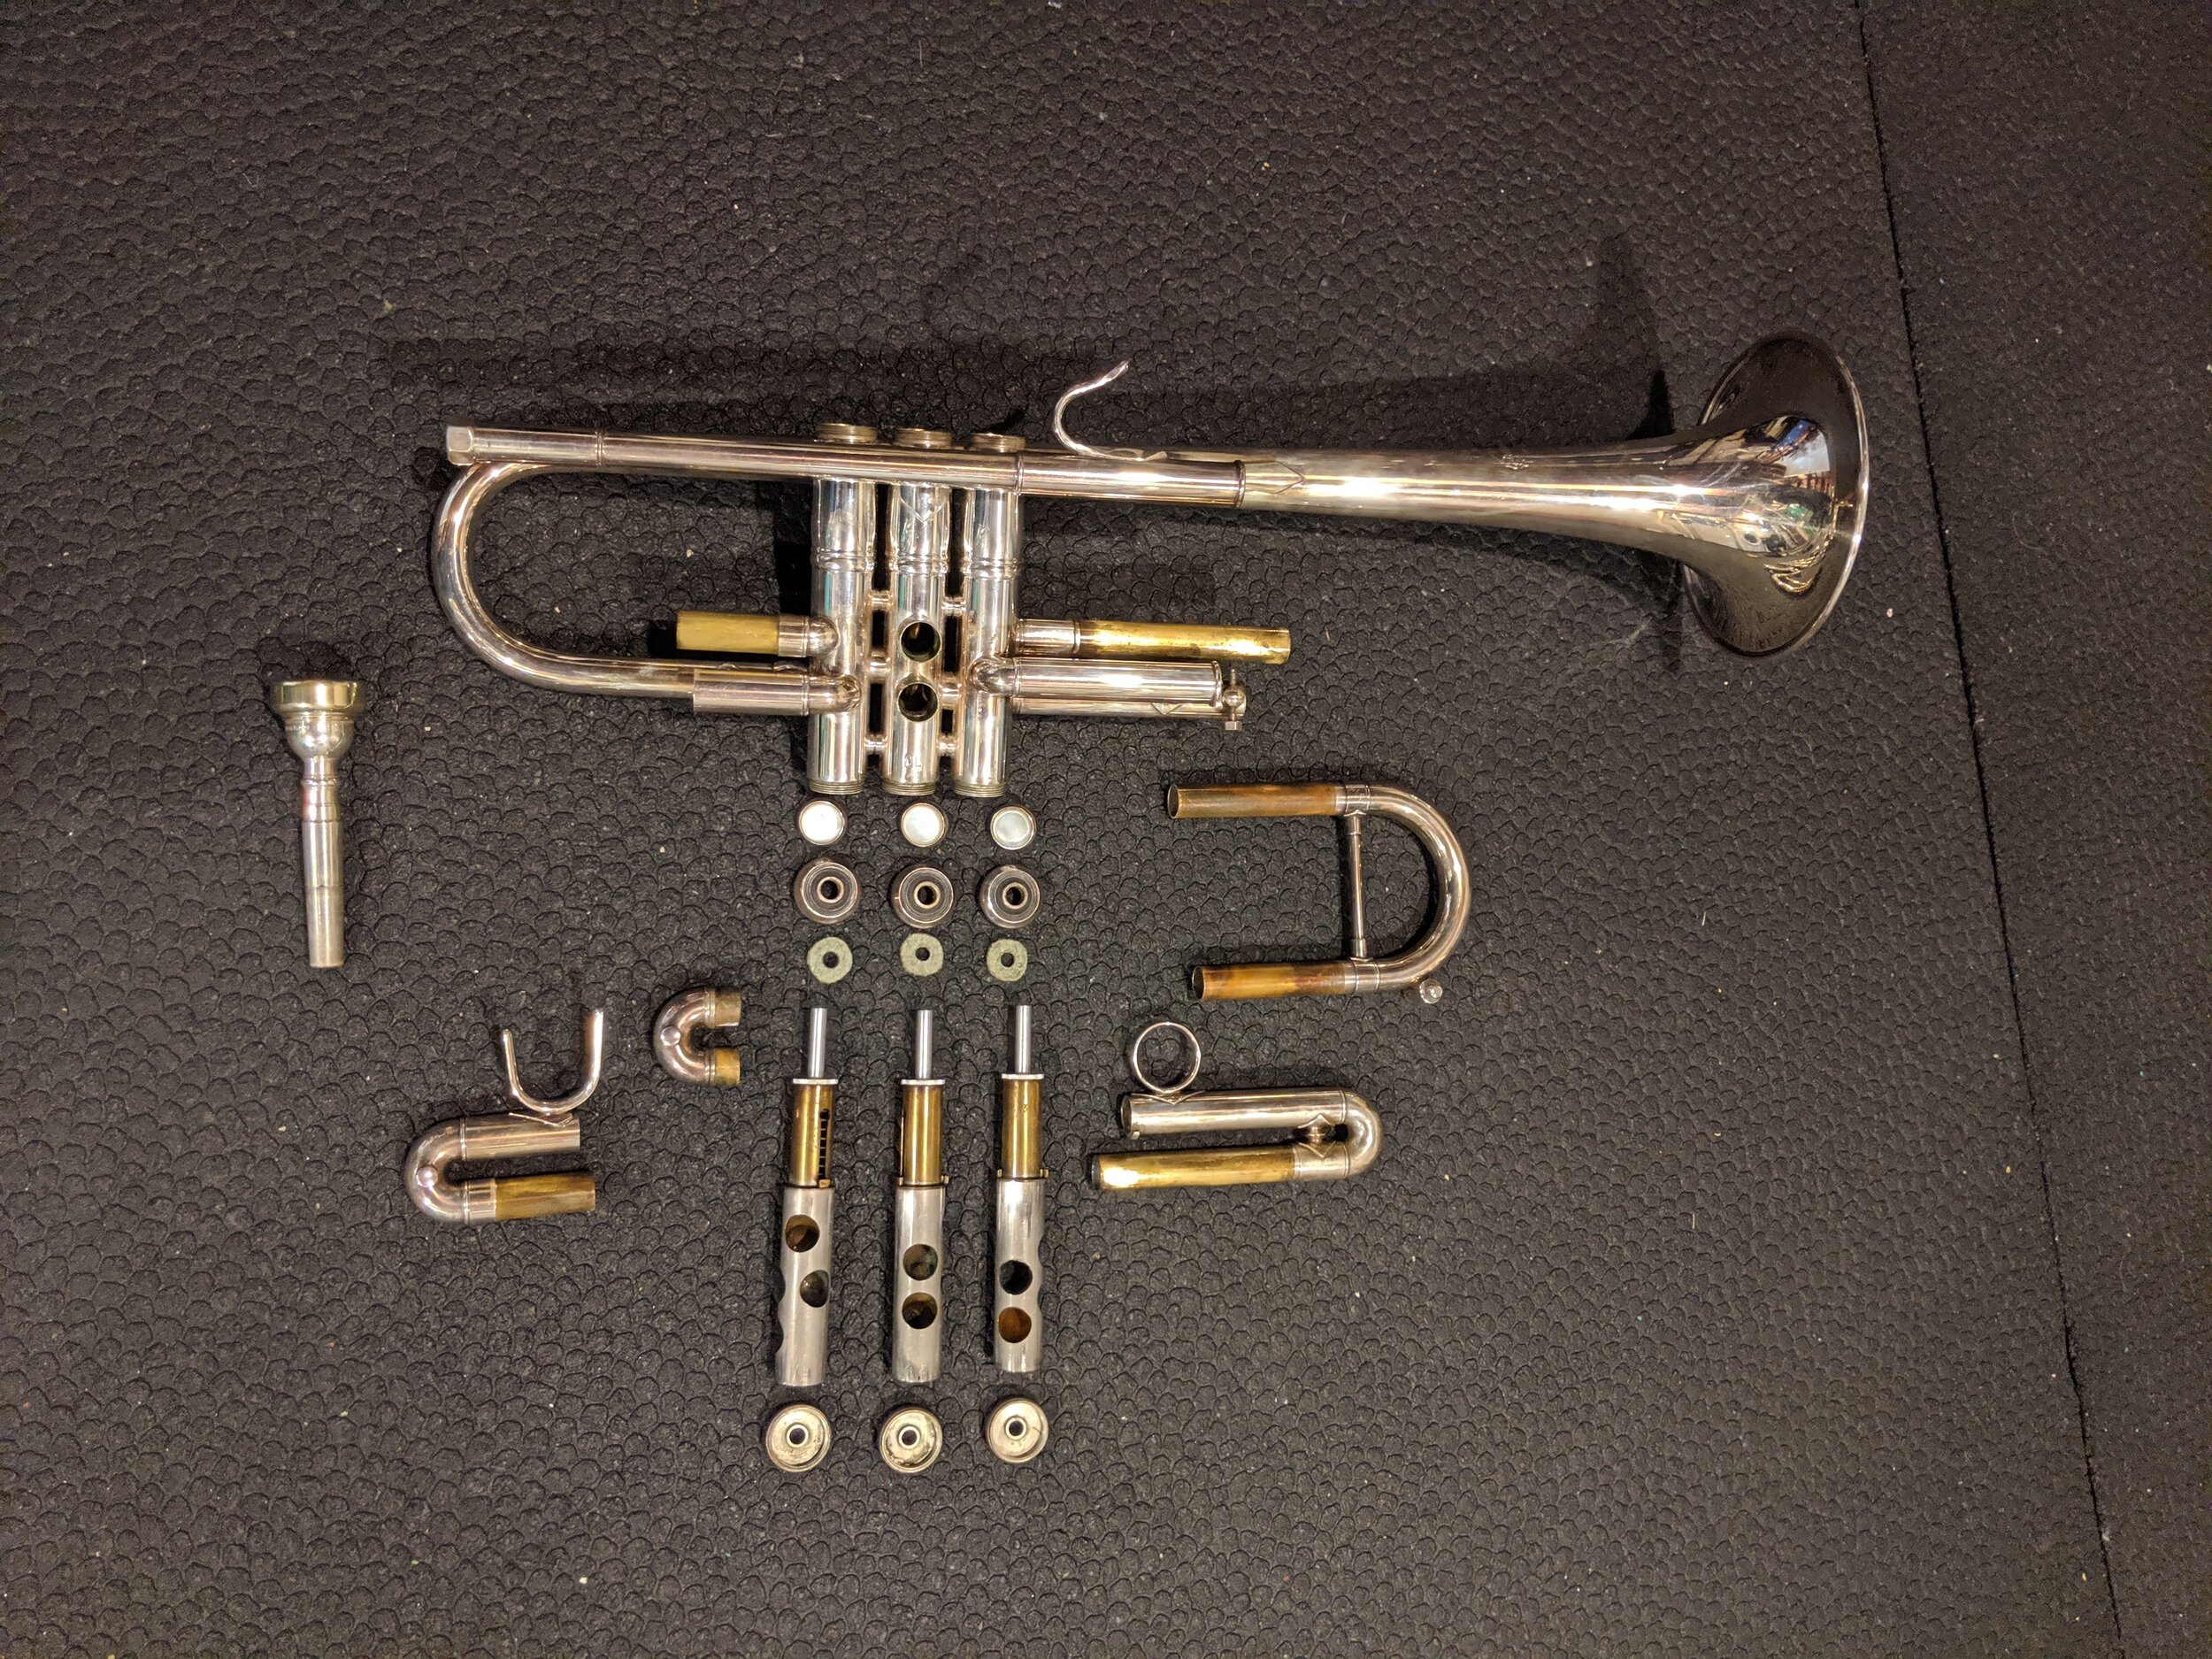
Once you have your selected tub or sink filled with your water and soap/degreaser, it's time to disassemble your trumpet.
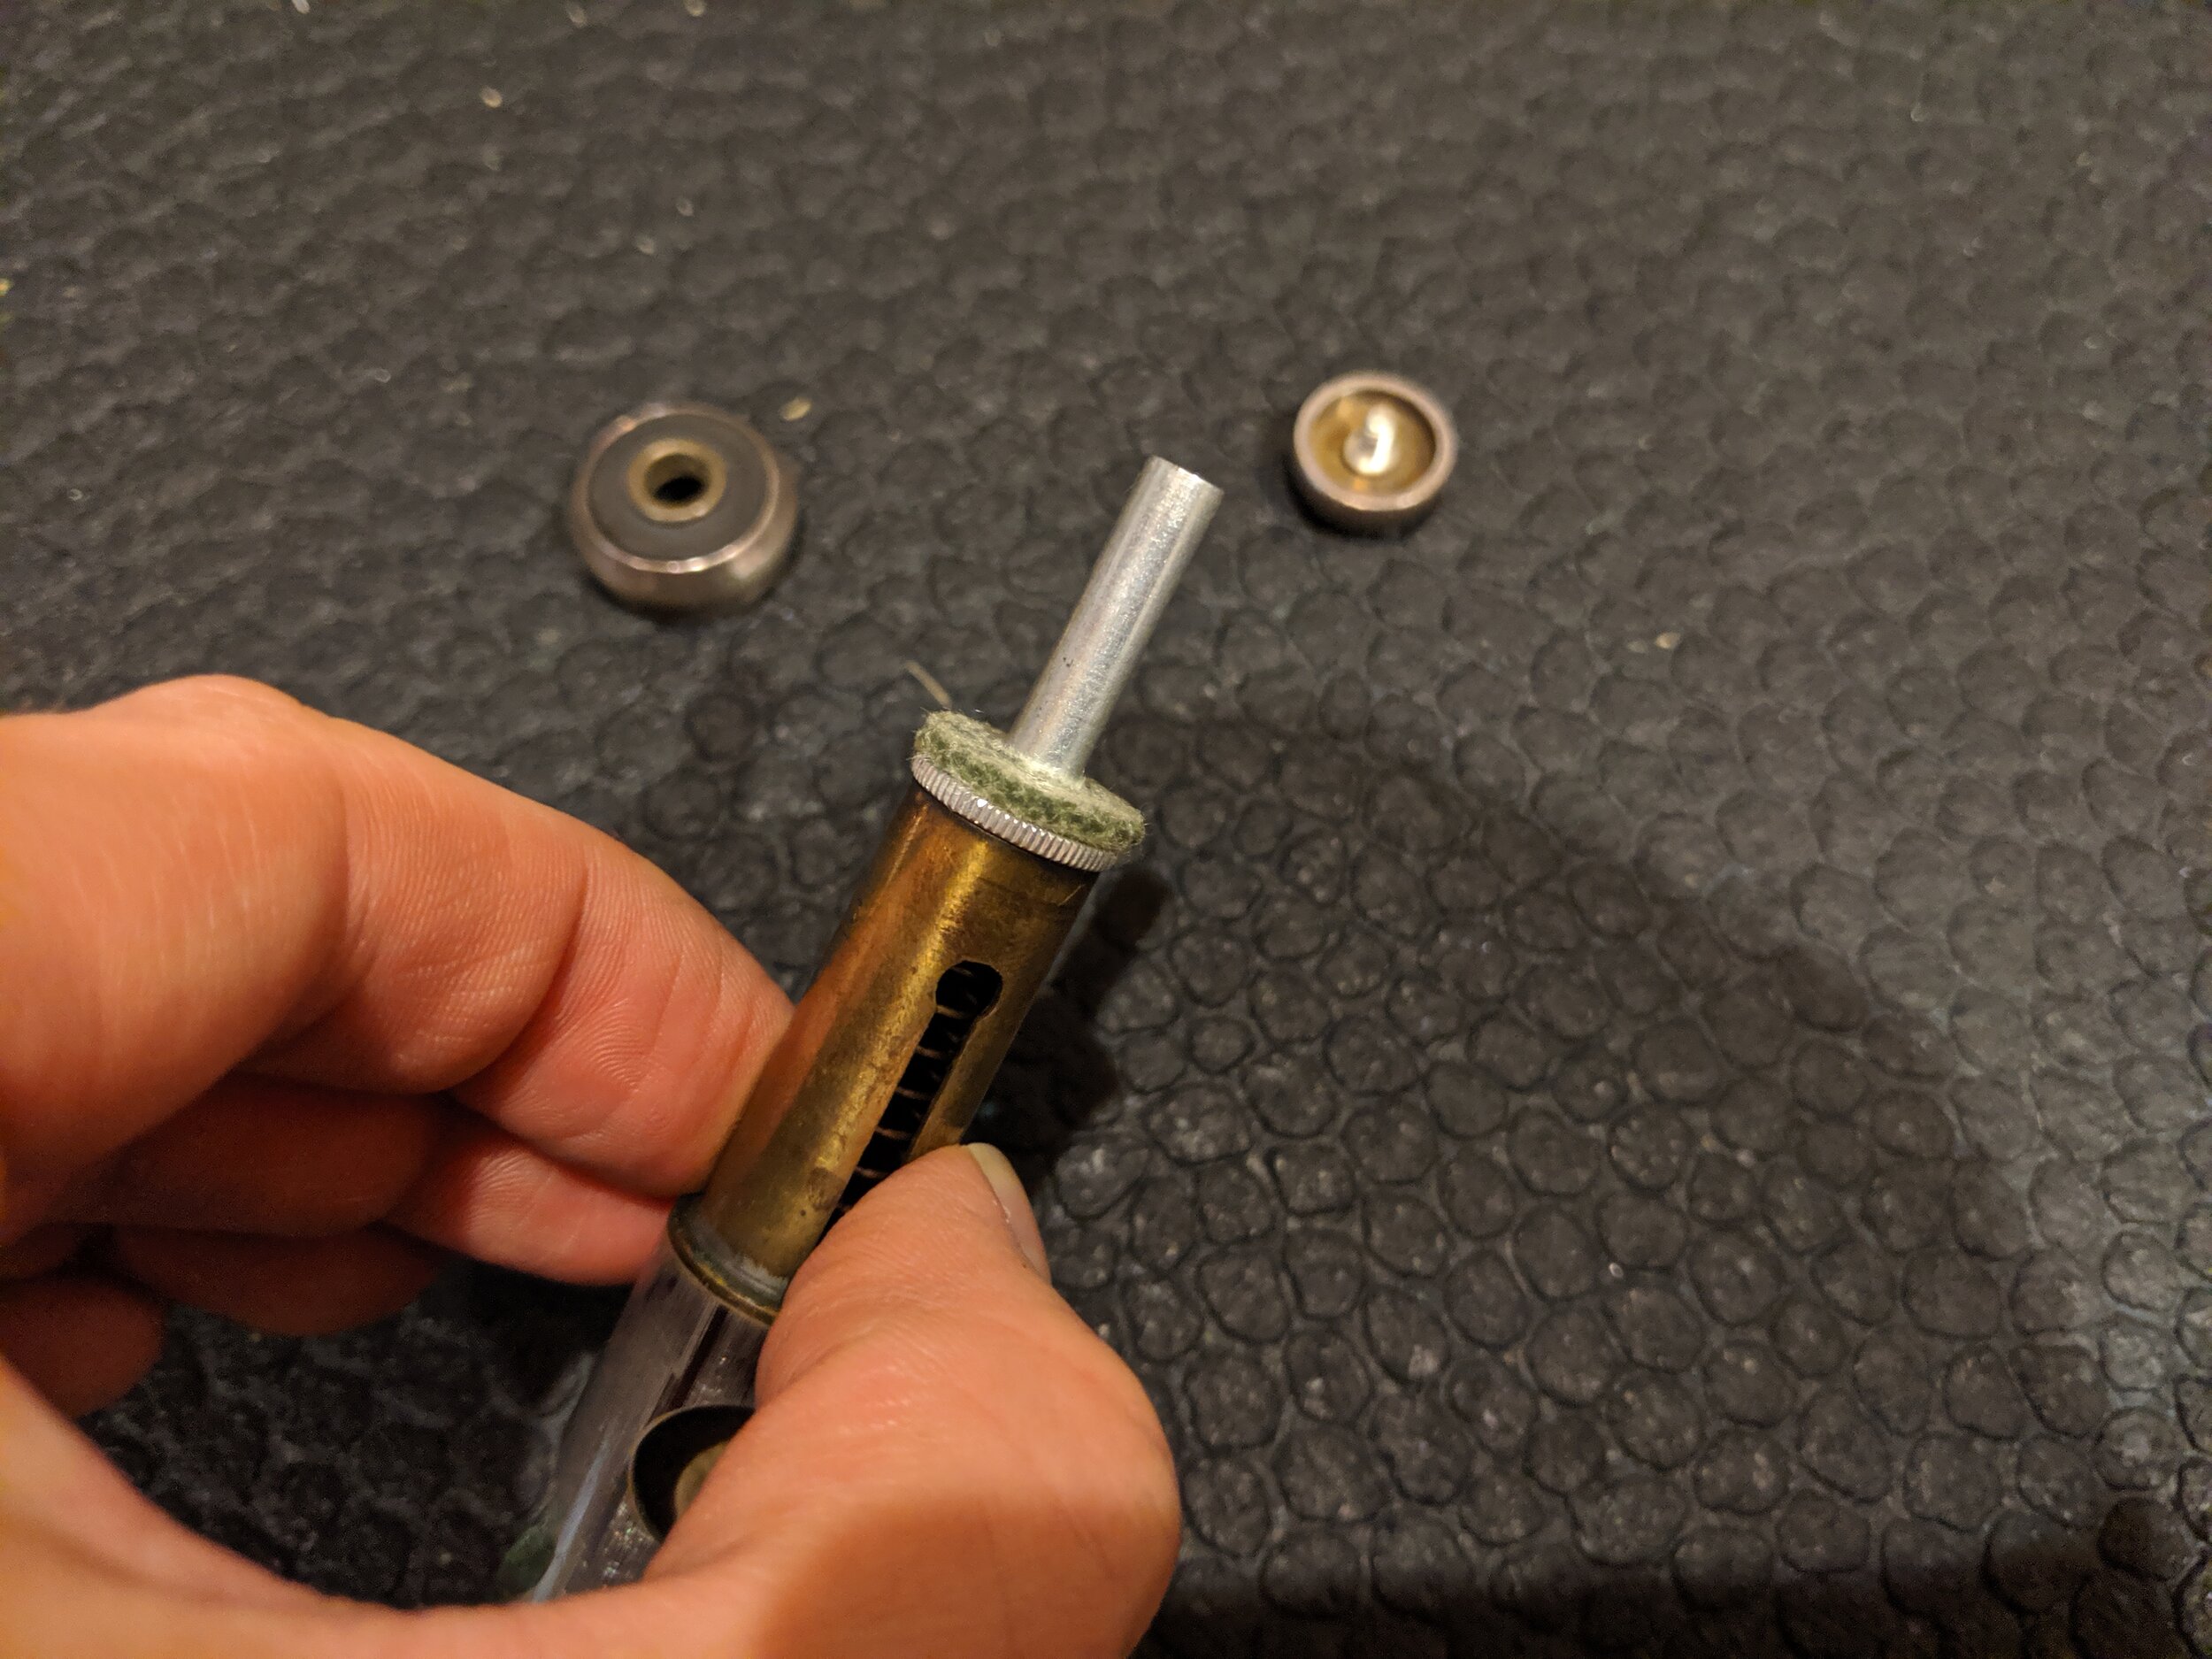
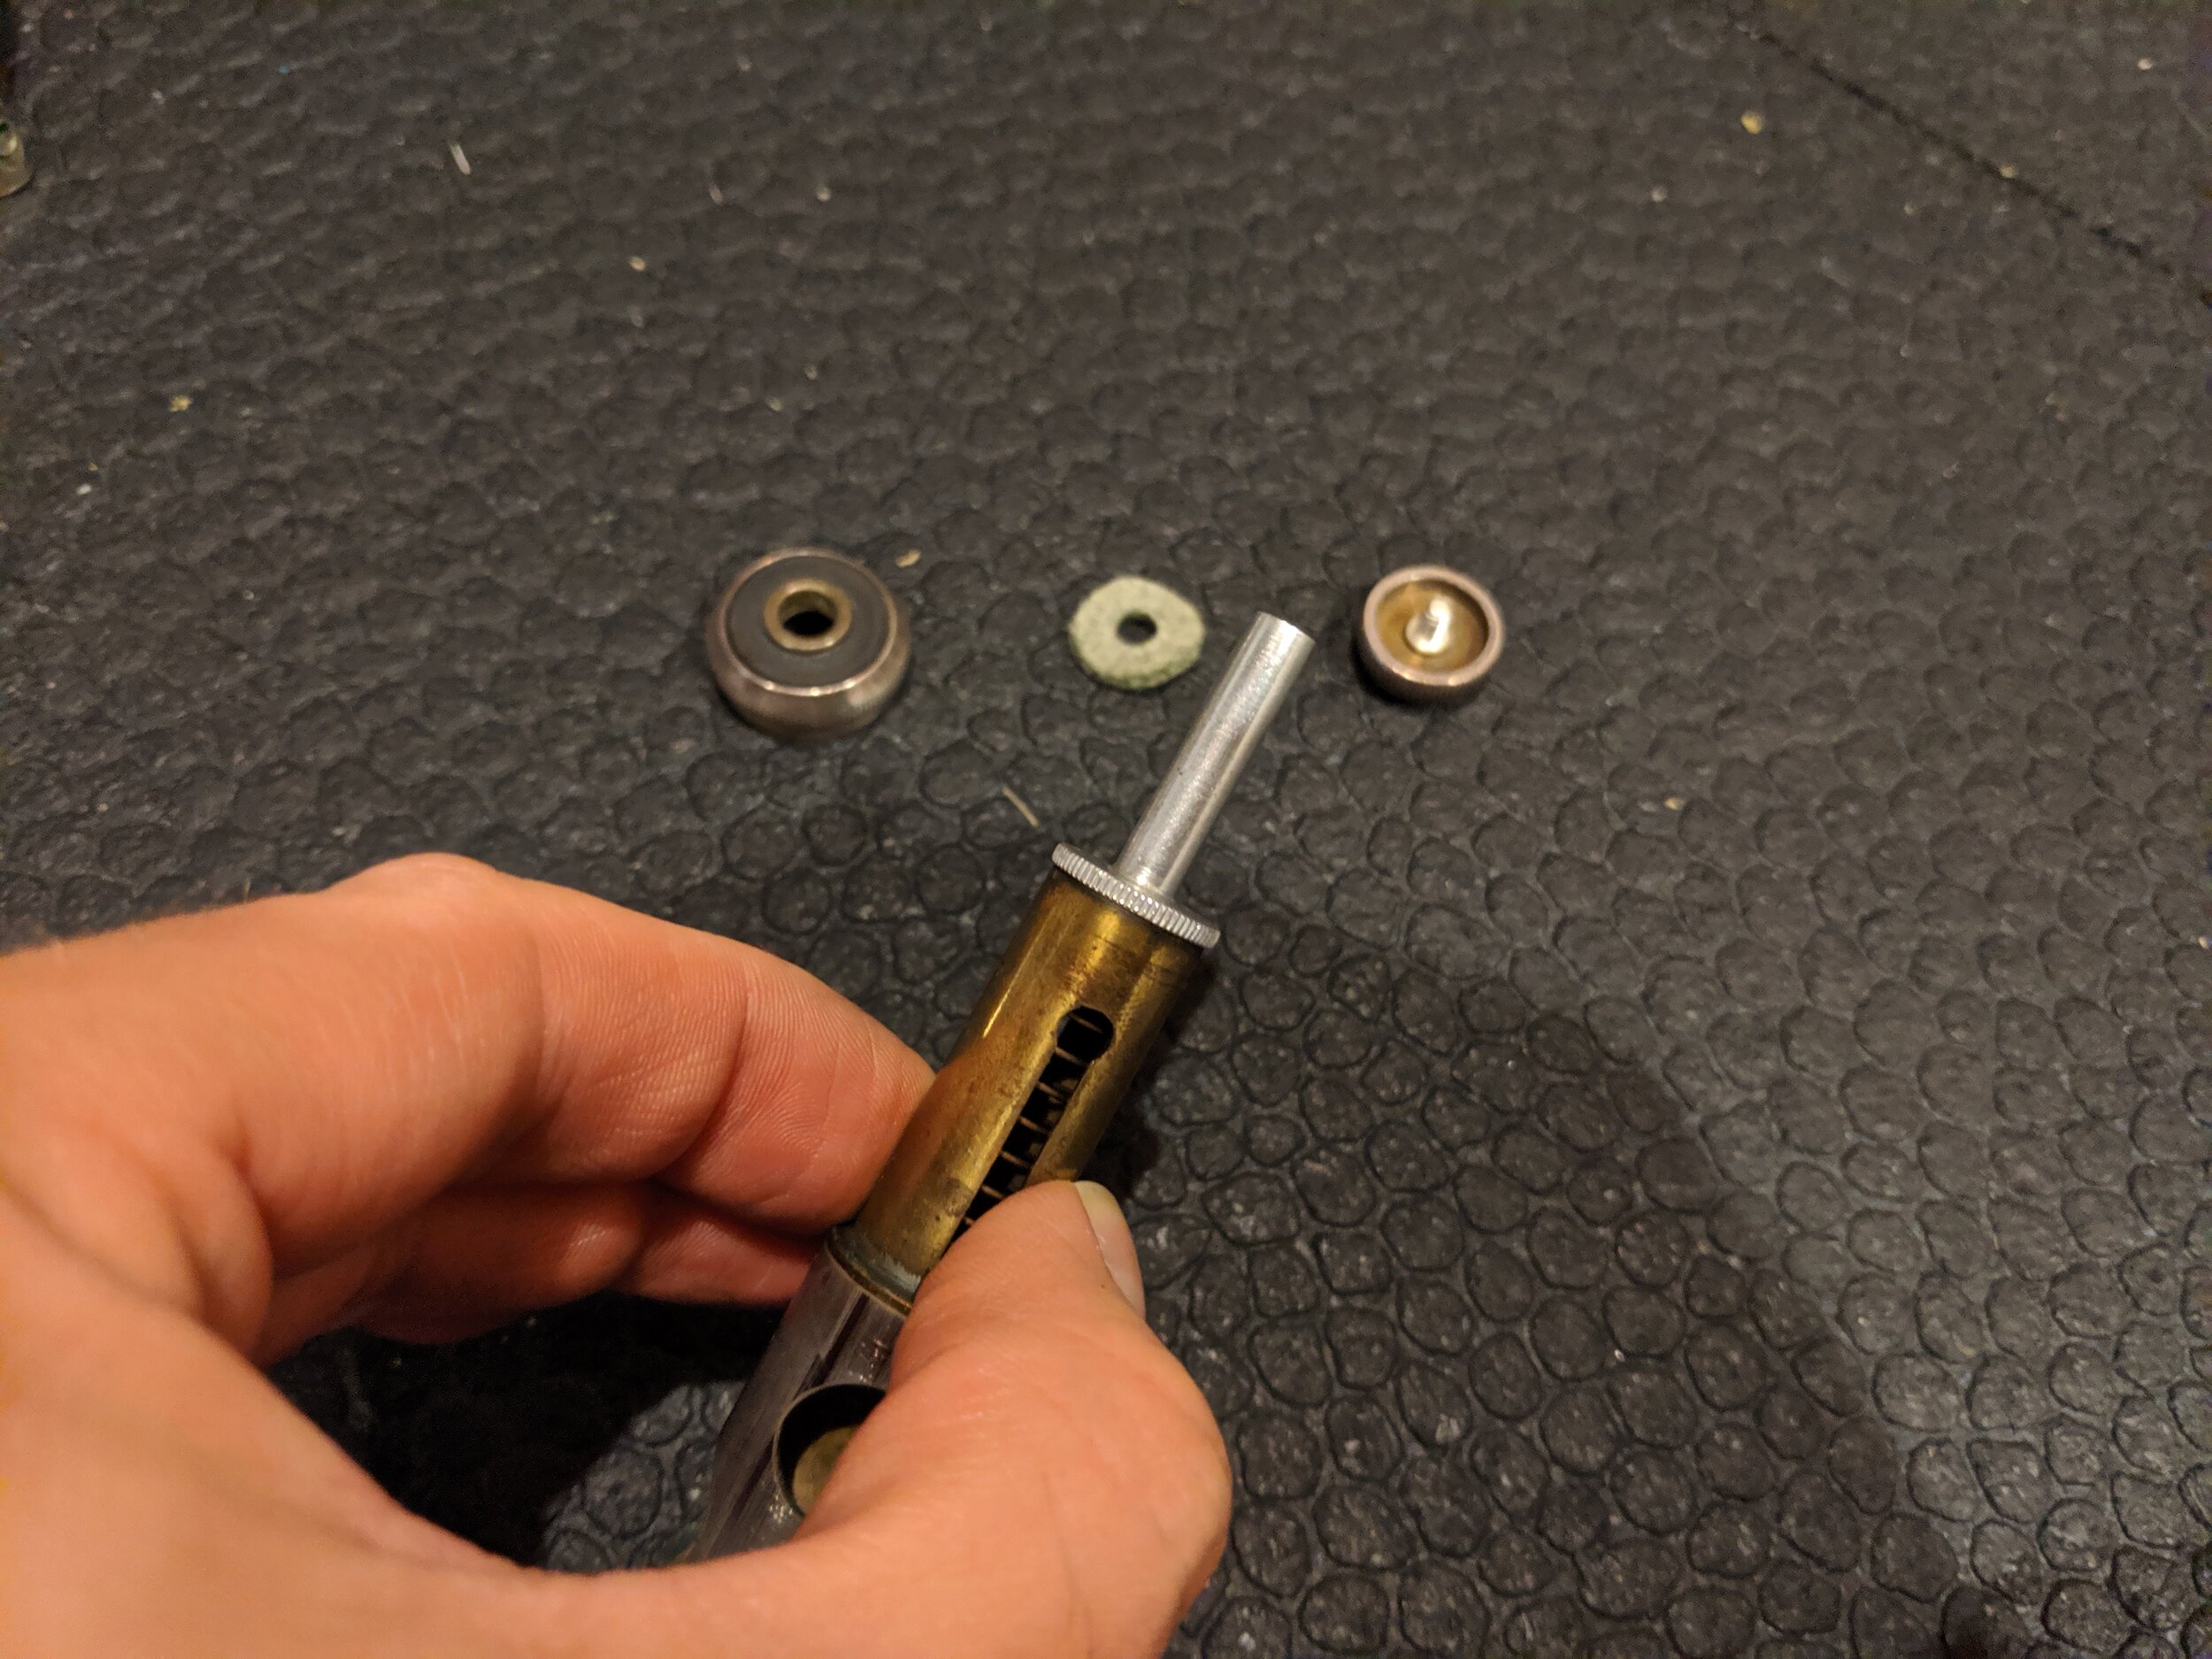
It can be useful to lay things out so that parts that go together are next to each other. Most of what you need to do is take out the valves and slides and place them in the tub or sink. You will have to remove the finger buttons from each valve in order to take off the top valve cap and pads before submerging the valves because the pads (which are likely made of felt) will lose some functionality if they are soaked and then dry out.
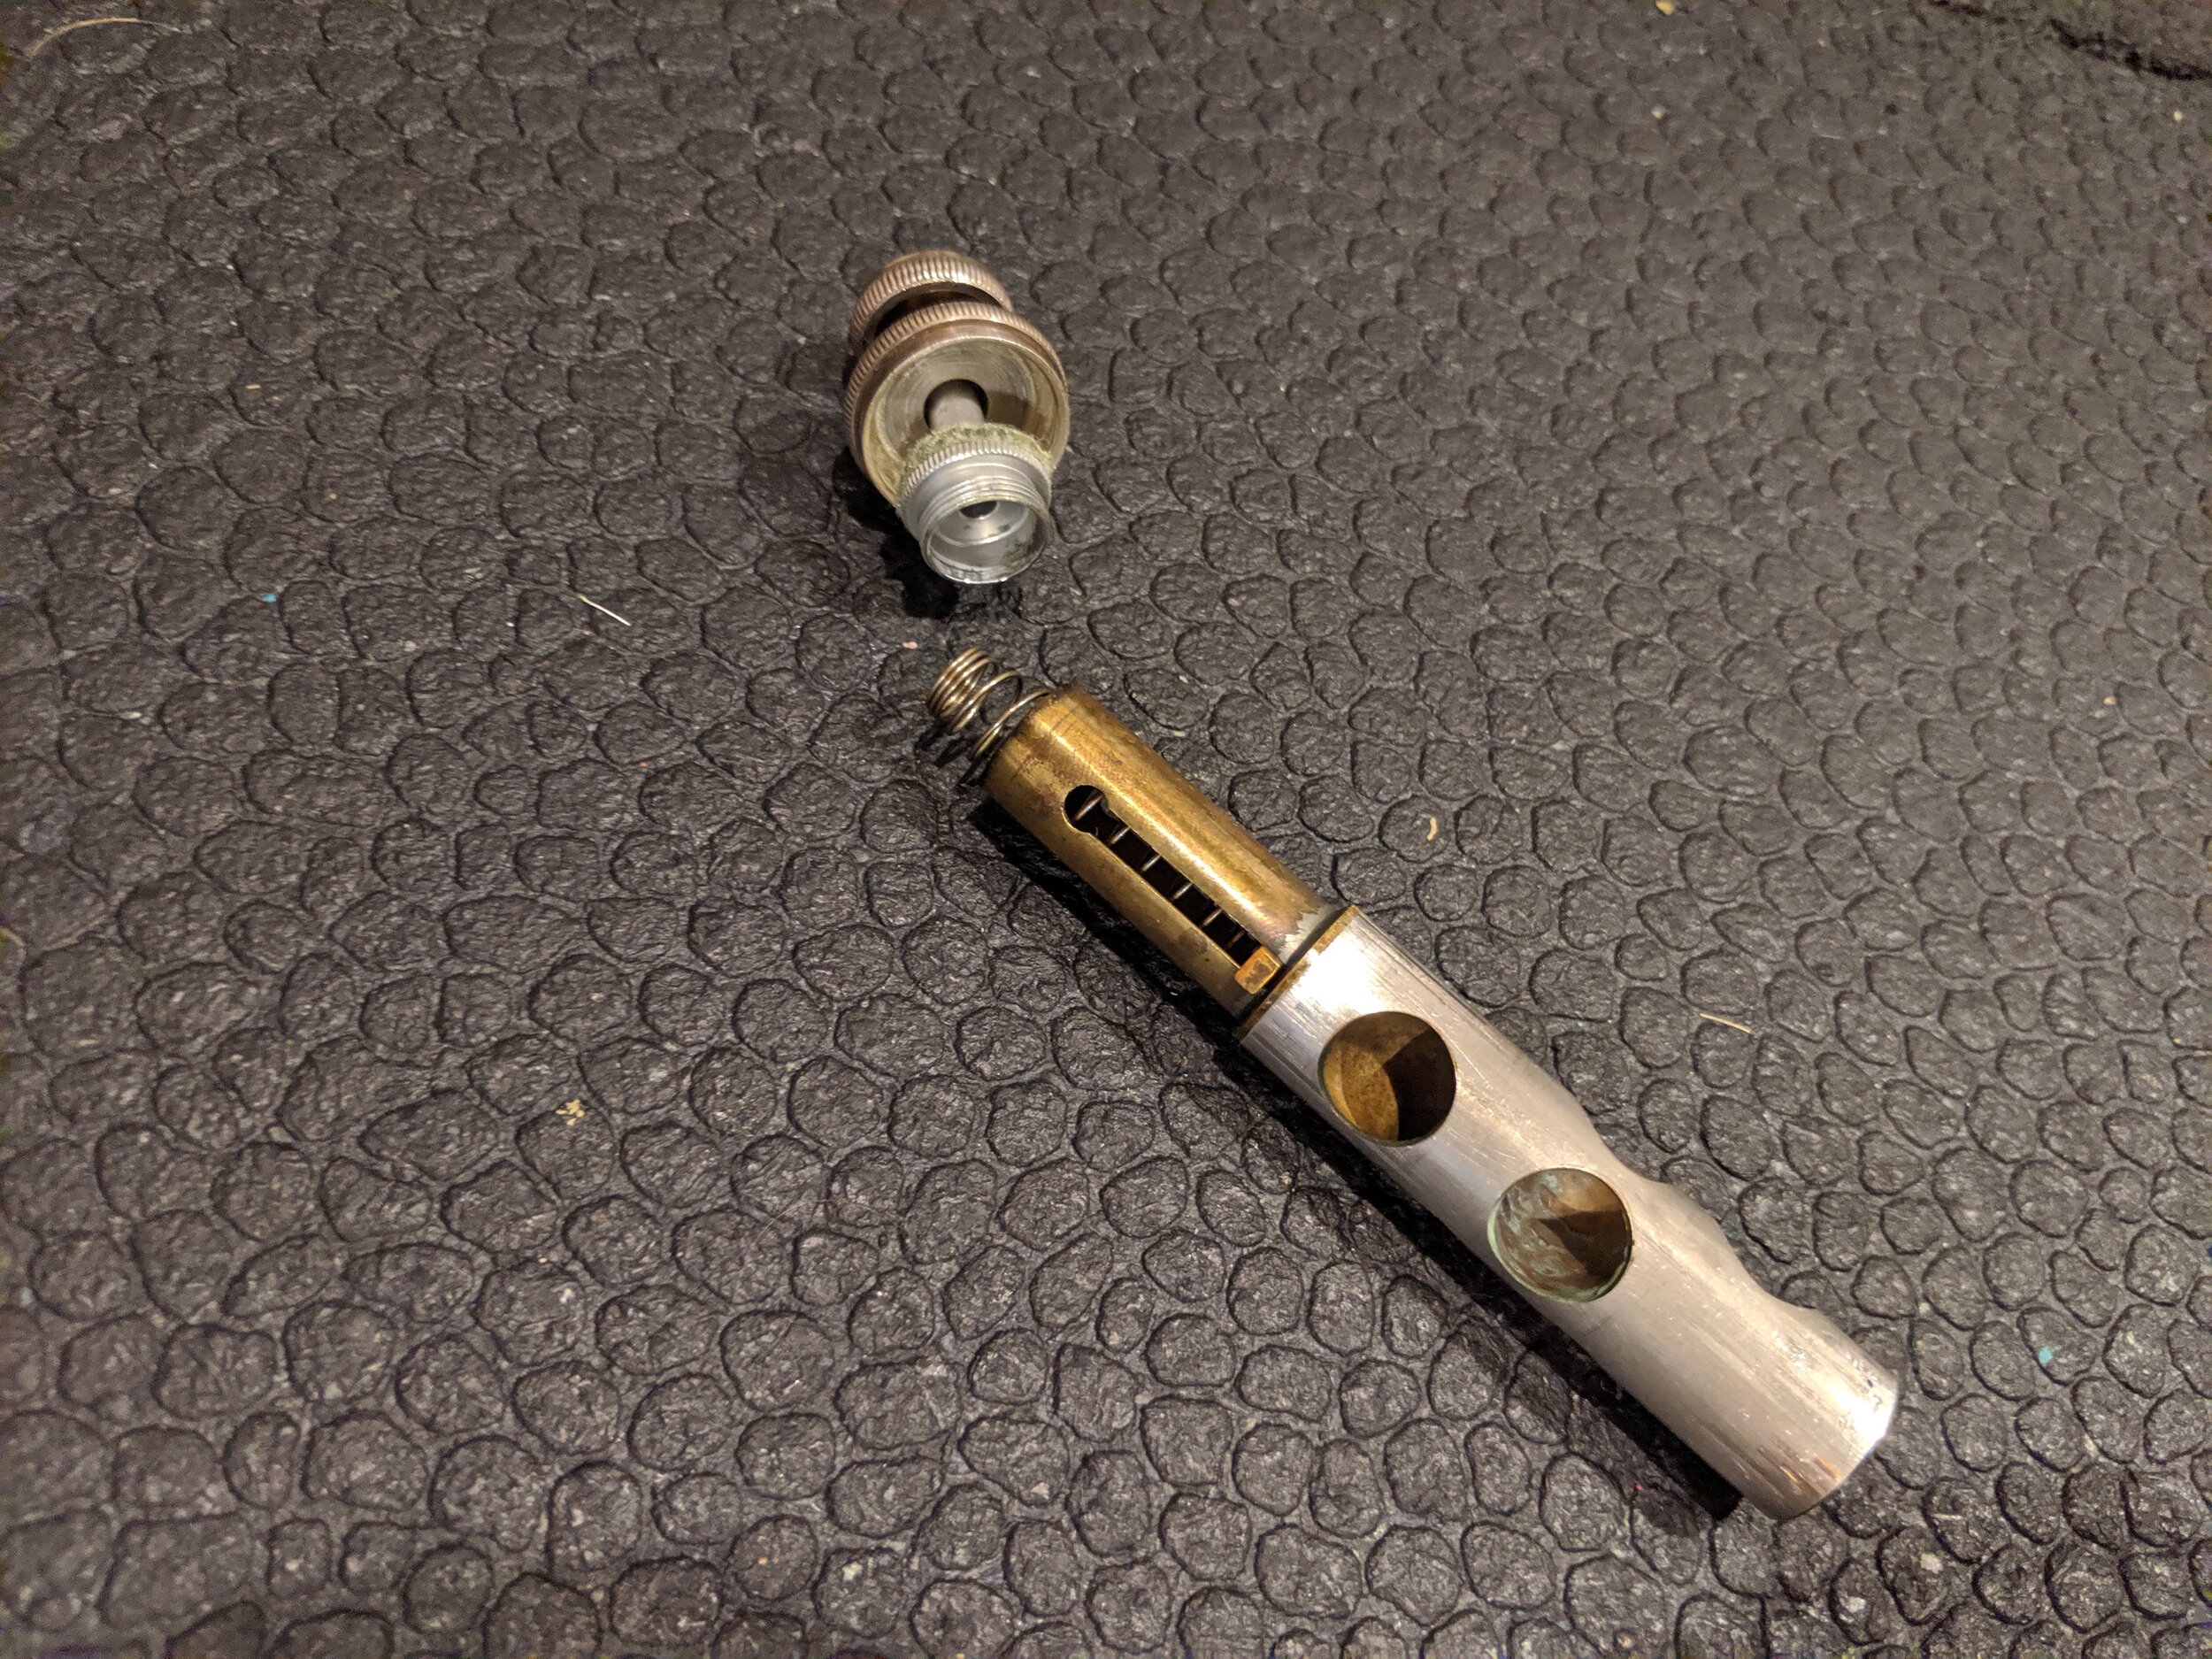
If you end up removing the entire stem and have exposed the spring (seen on the right), re-screw it together and hold the stem steady while unscrewing the button. Set the buttons and caps side making note of which valve they will return to as there may be slight variations between them that could affect your trumpet's playability.
Now that everything is in your cleaning solution, let's talk about tools. You'll want to have some kind of cup to be able to pour water through the various parts of your instrument. Beyond that there are two specialty tools that will make cleaning much easier and quicker. These are the snake brush and mouthpiece brush.
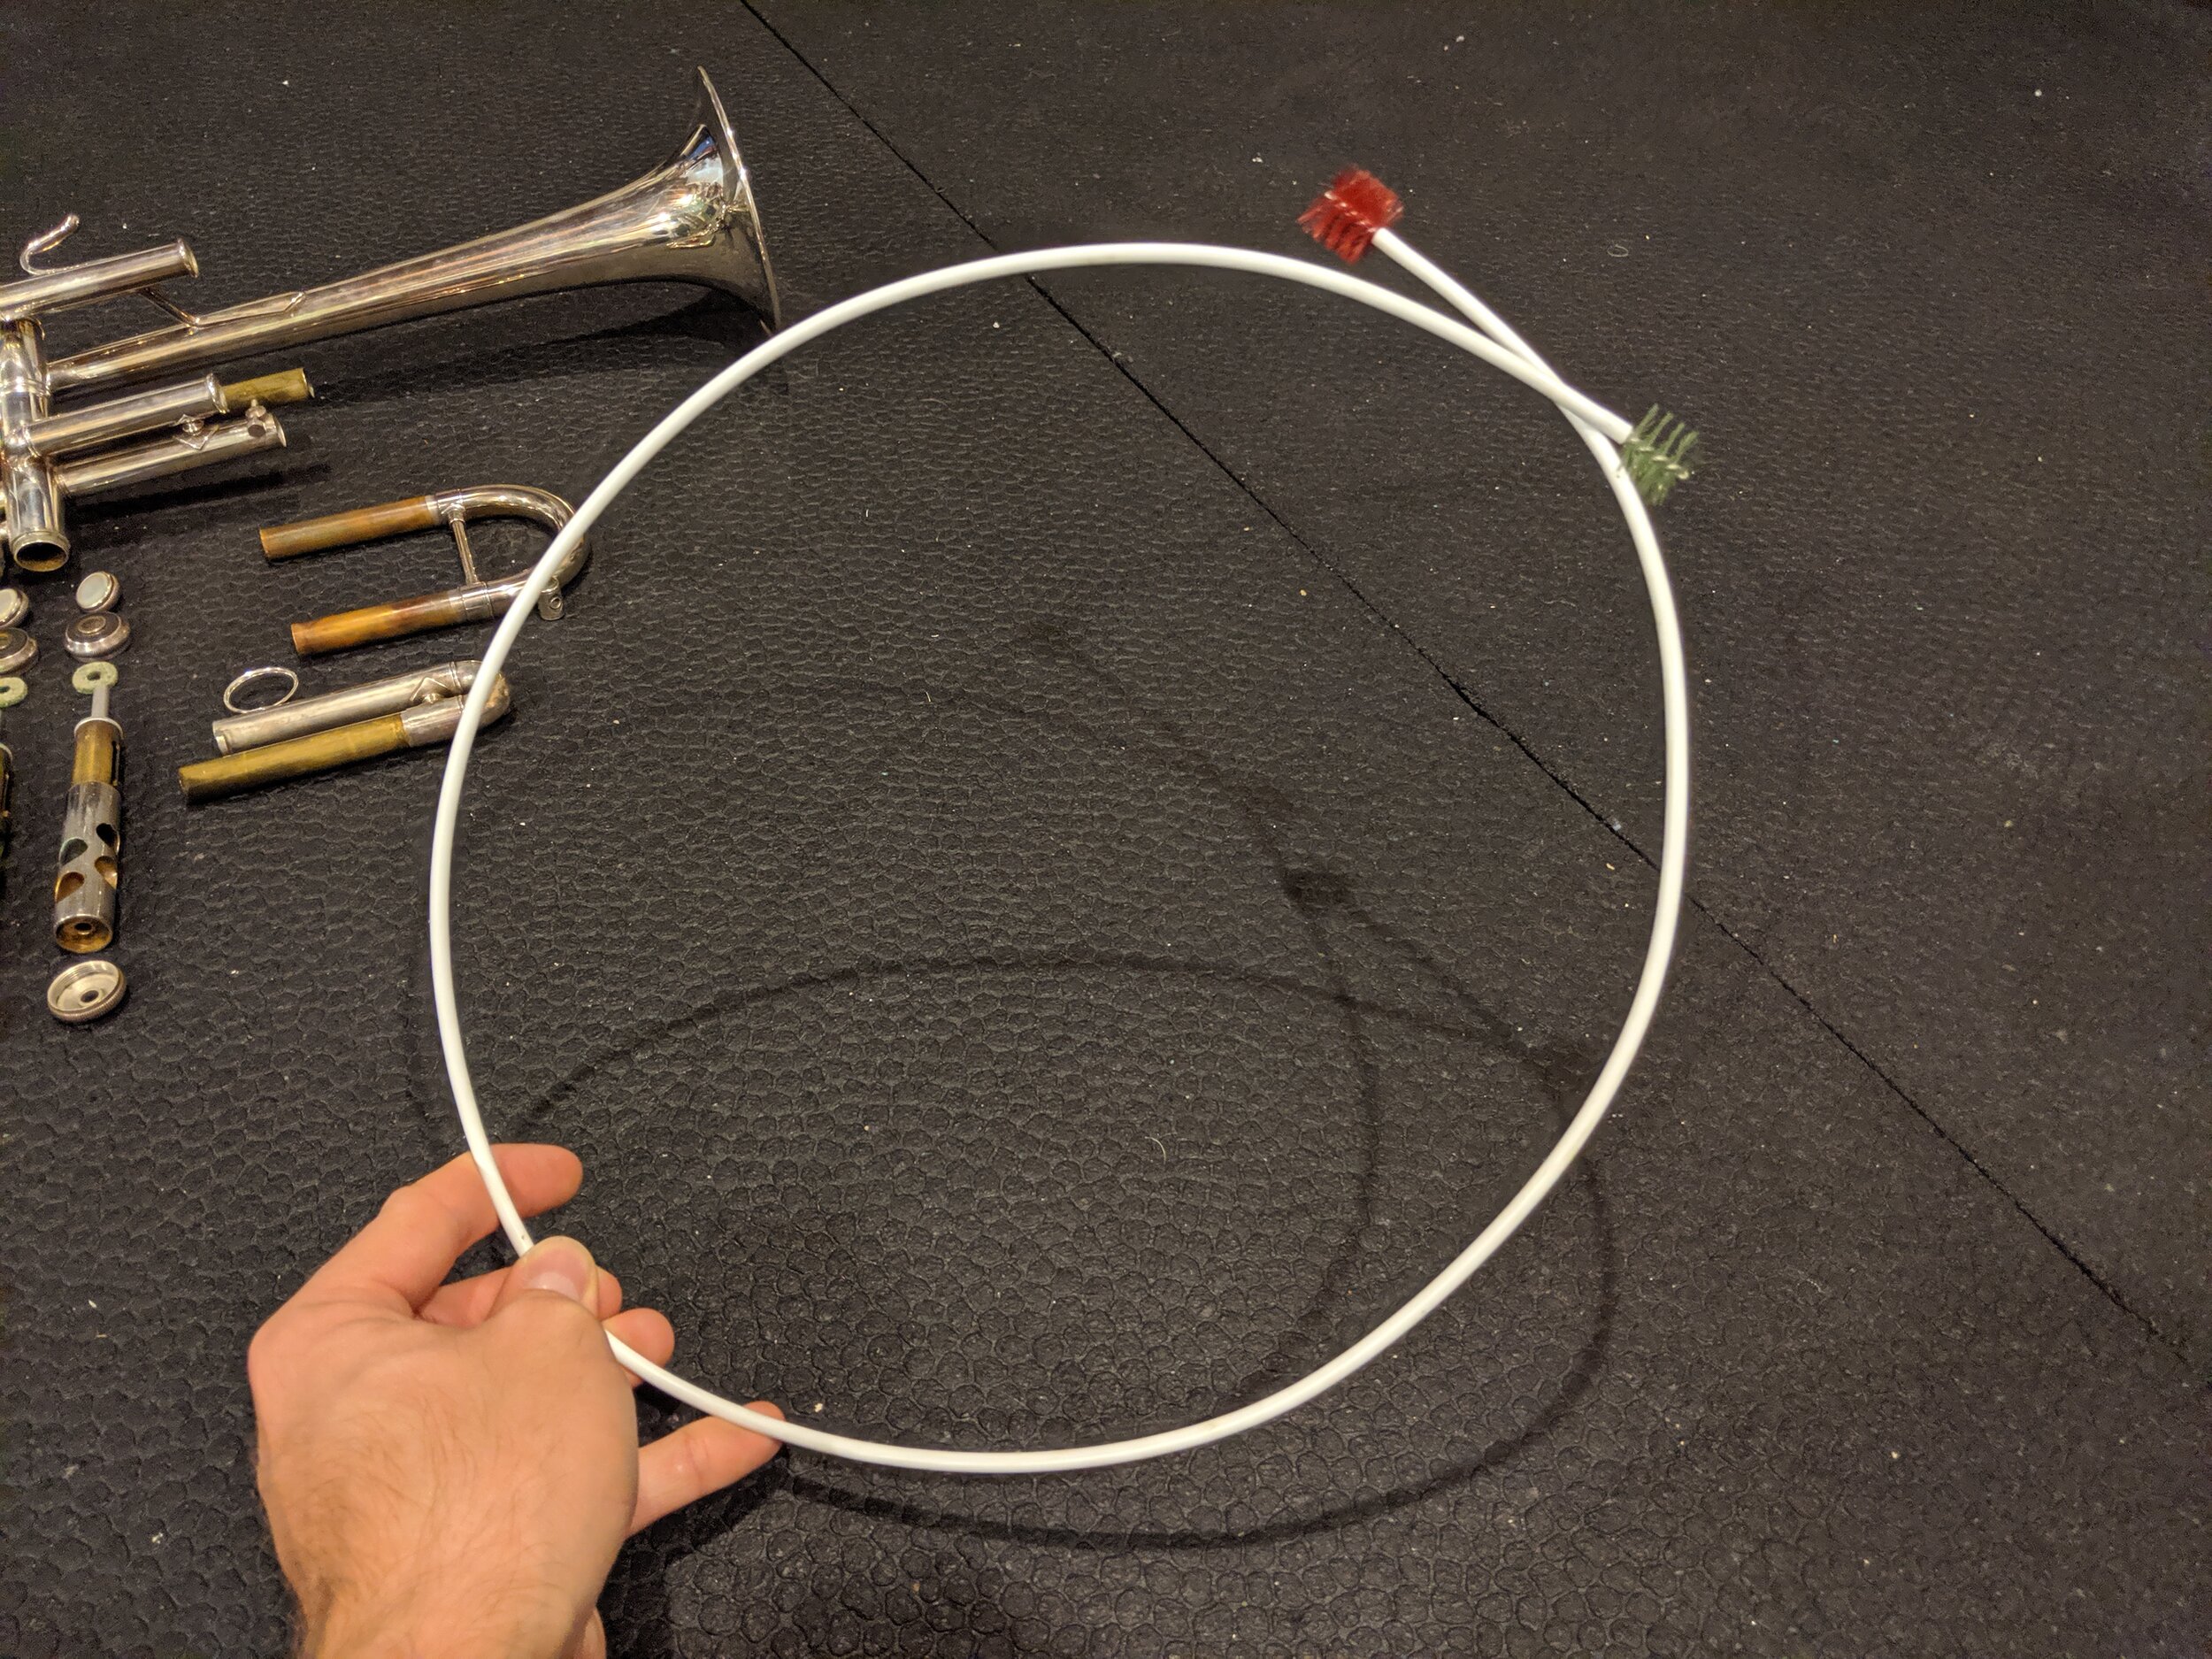
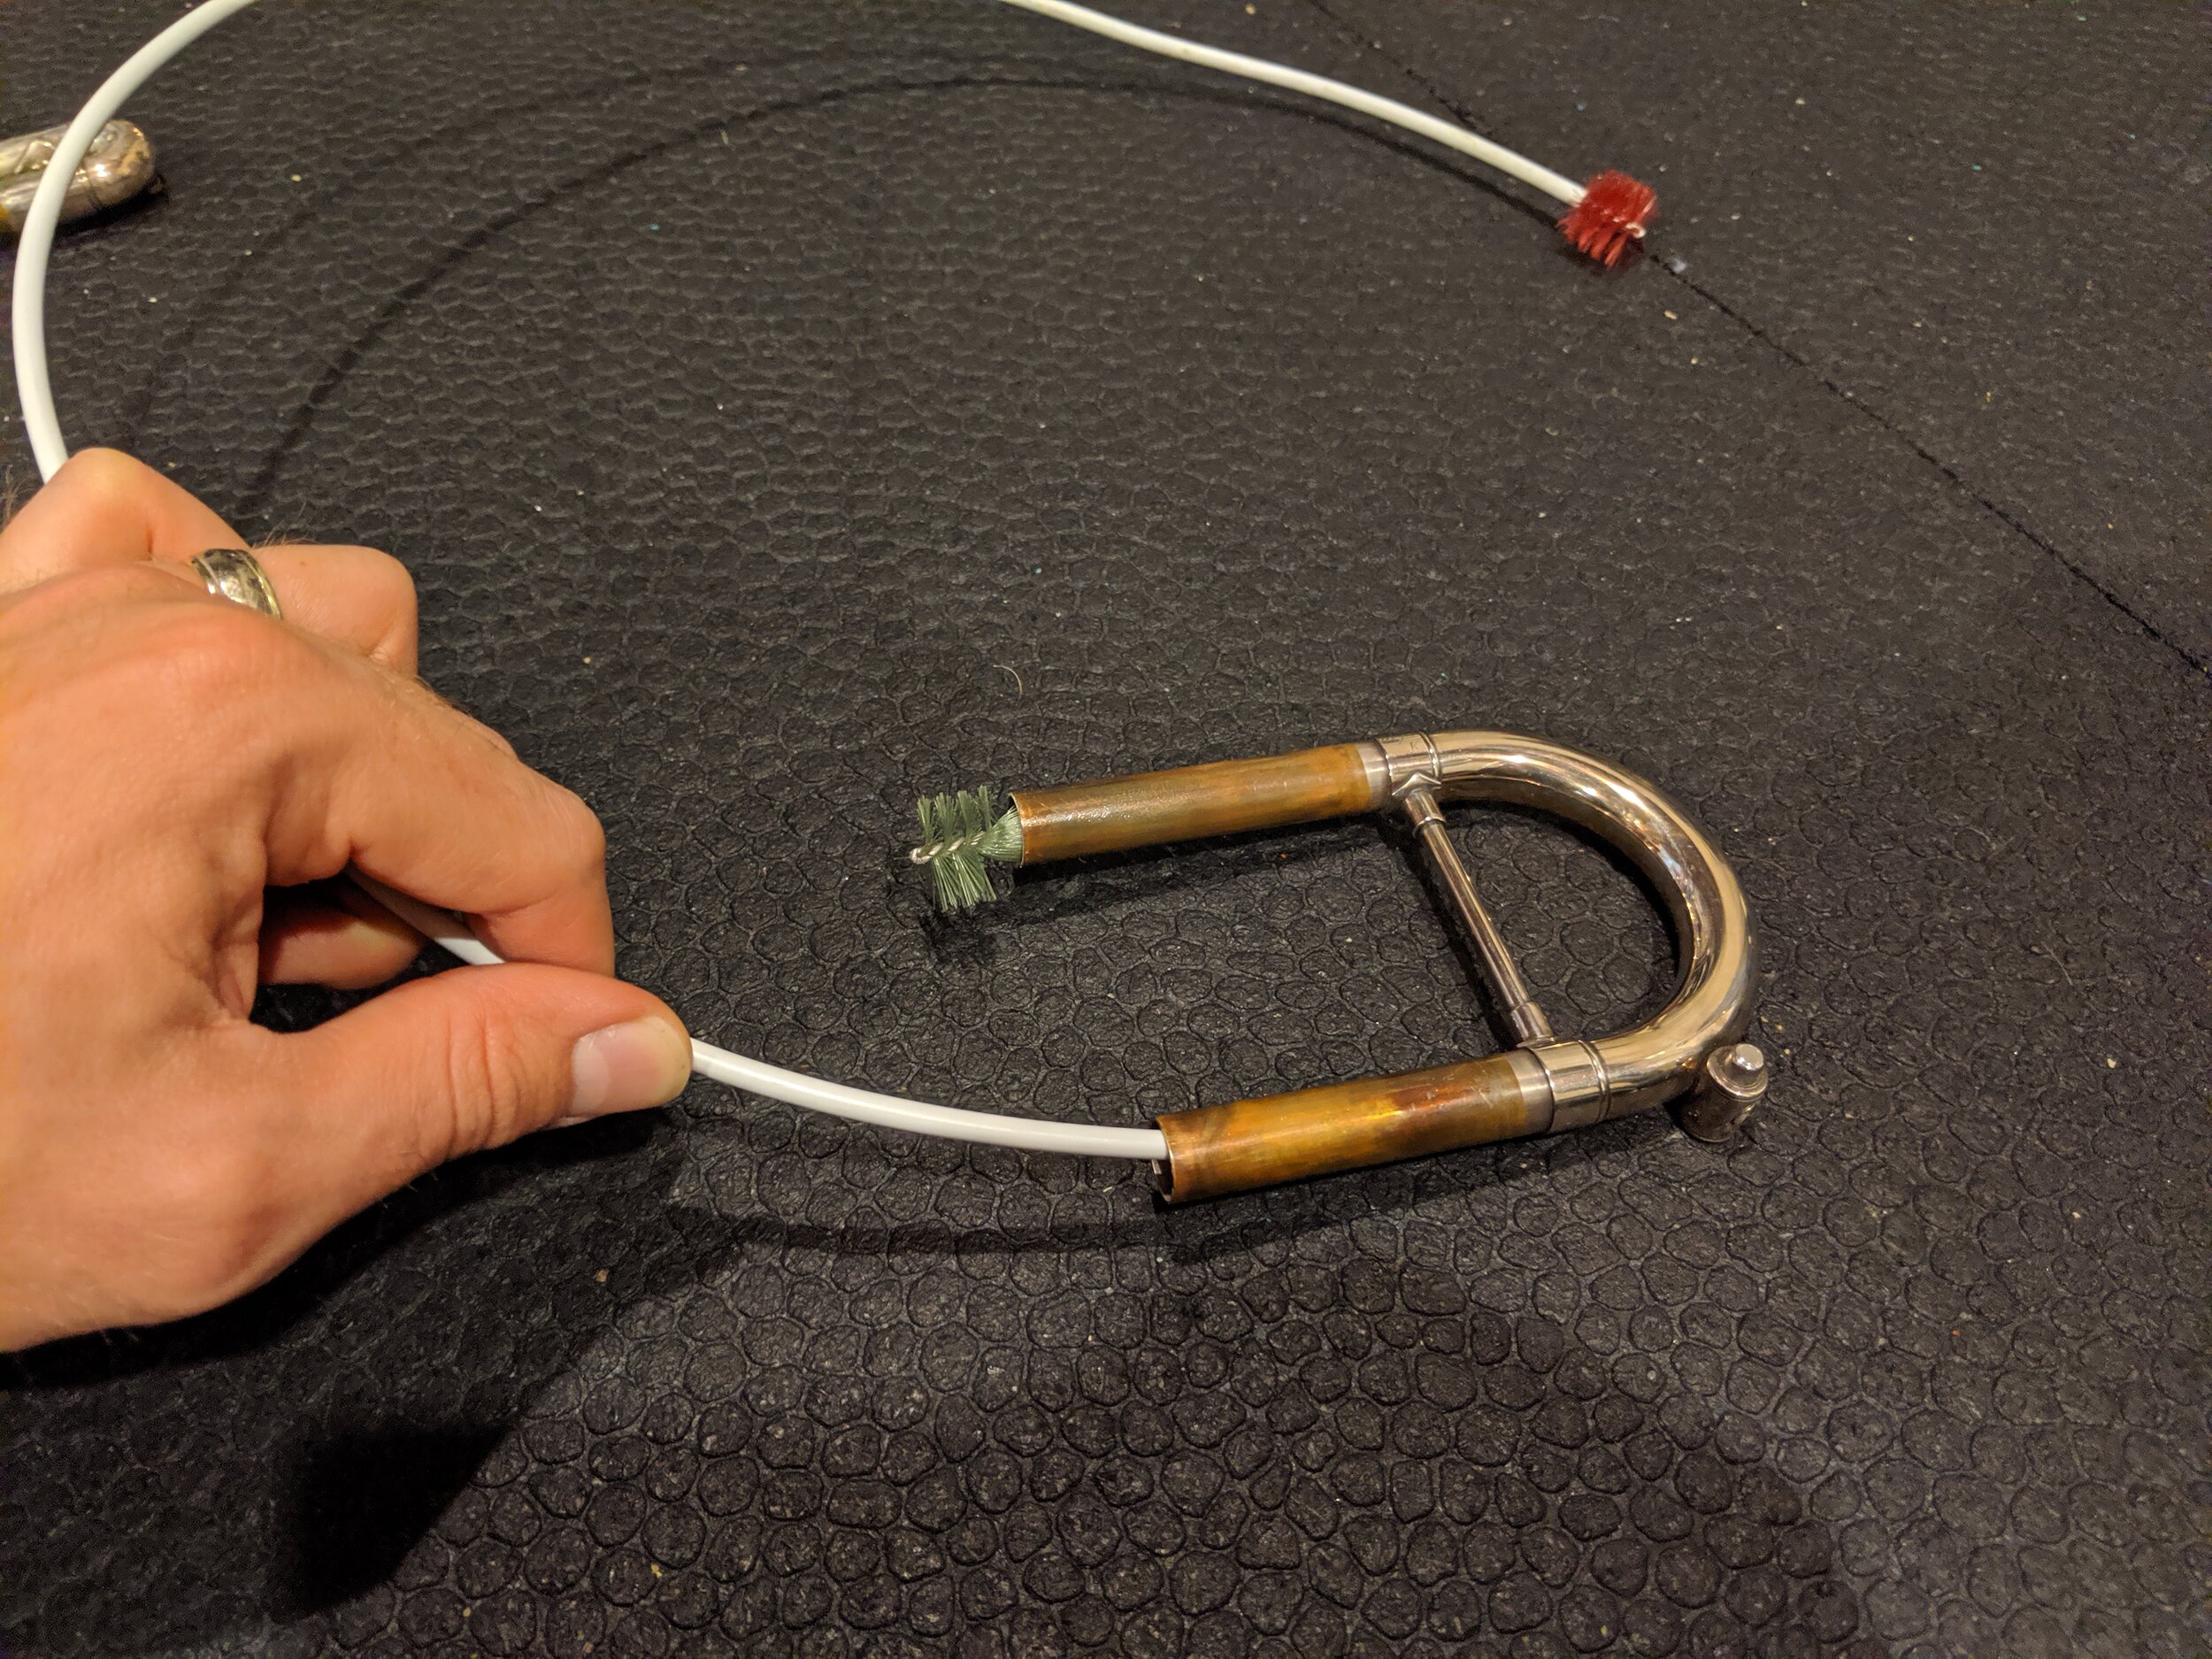
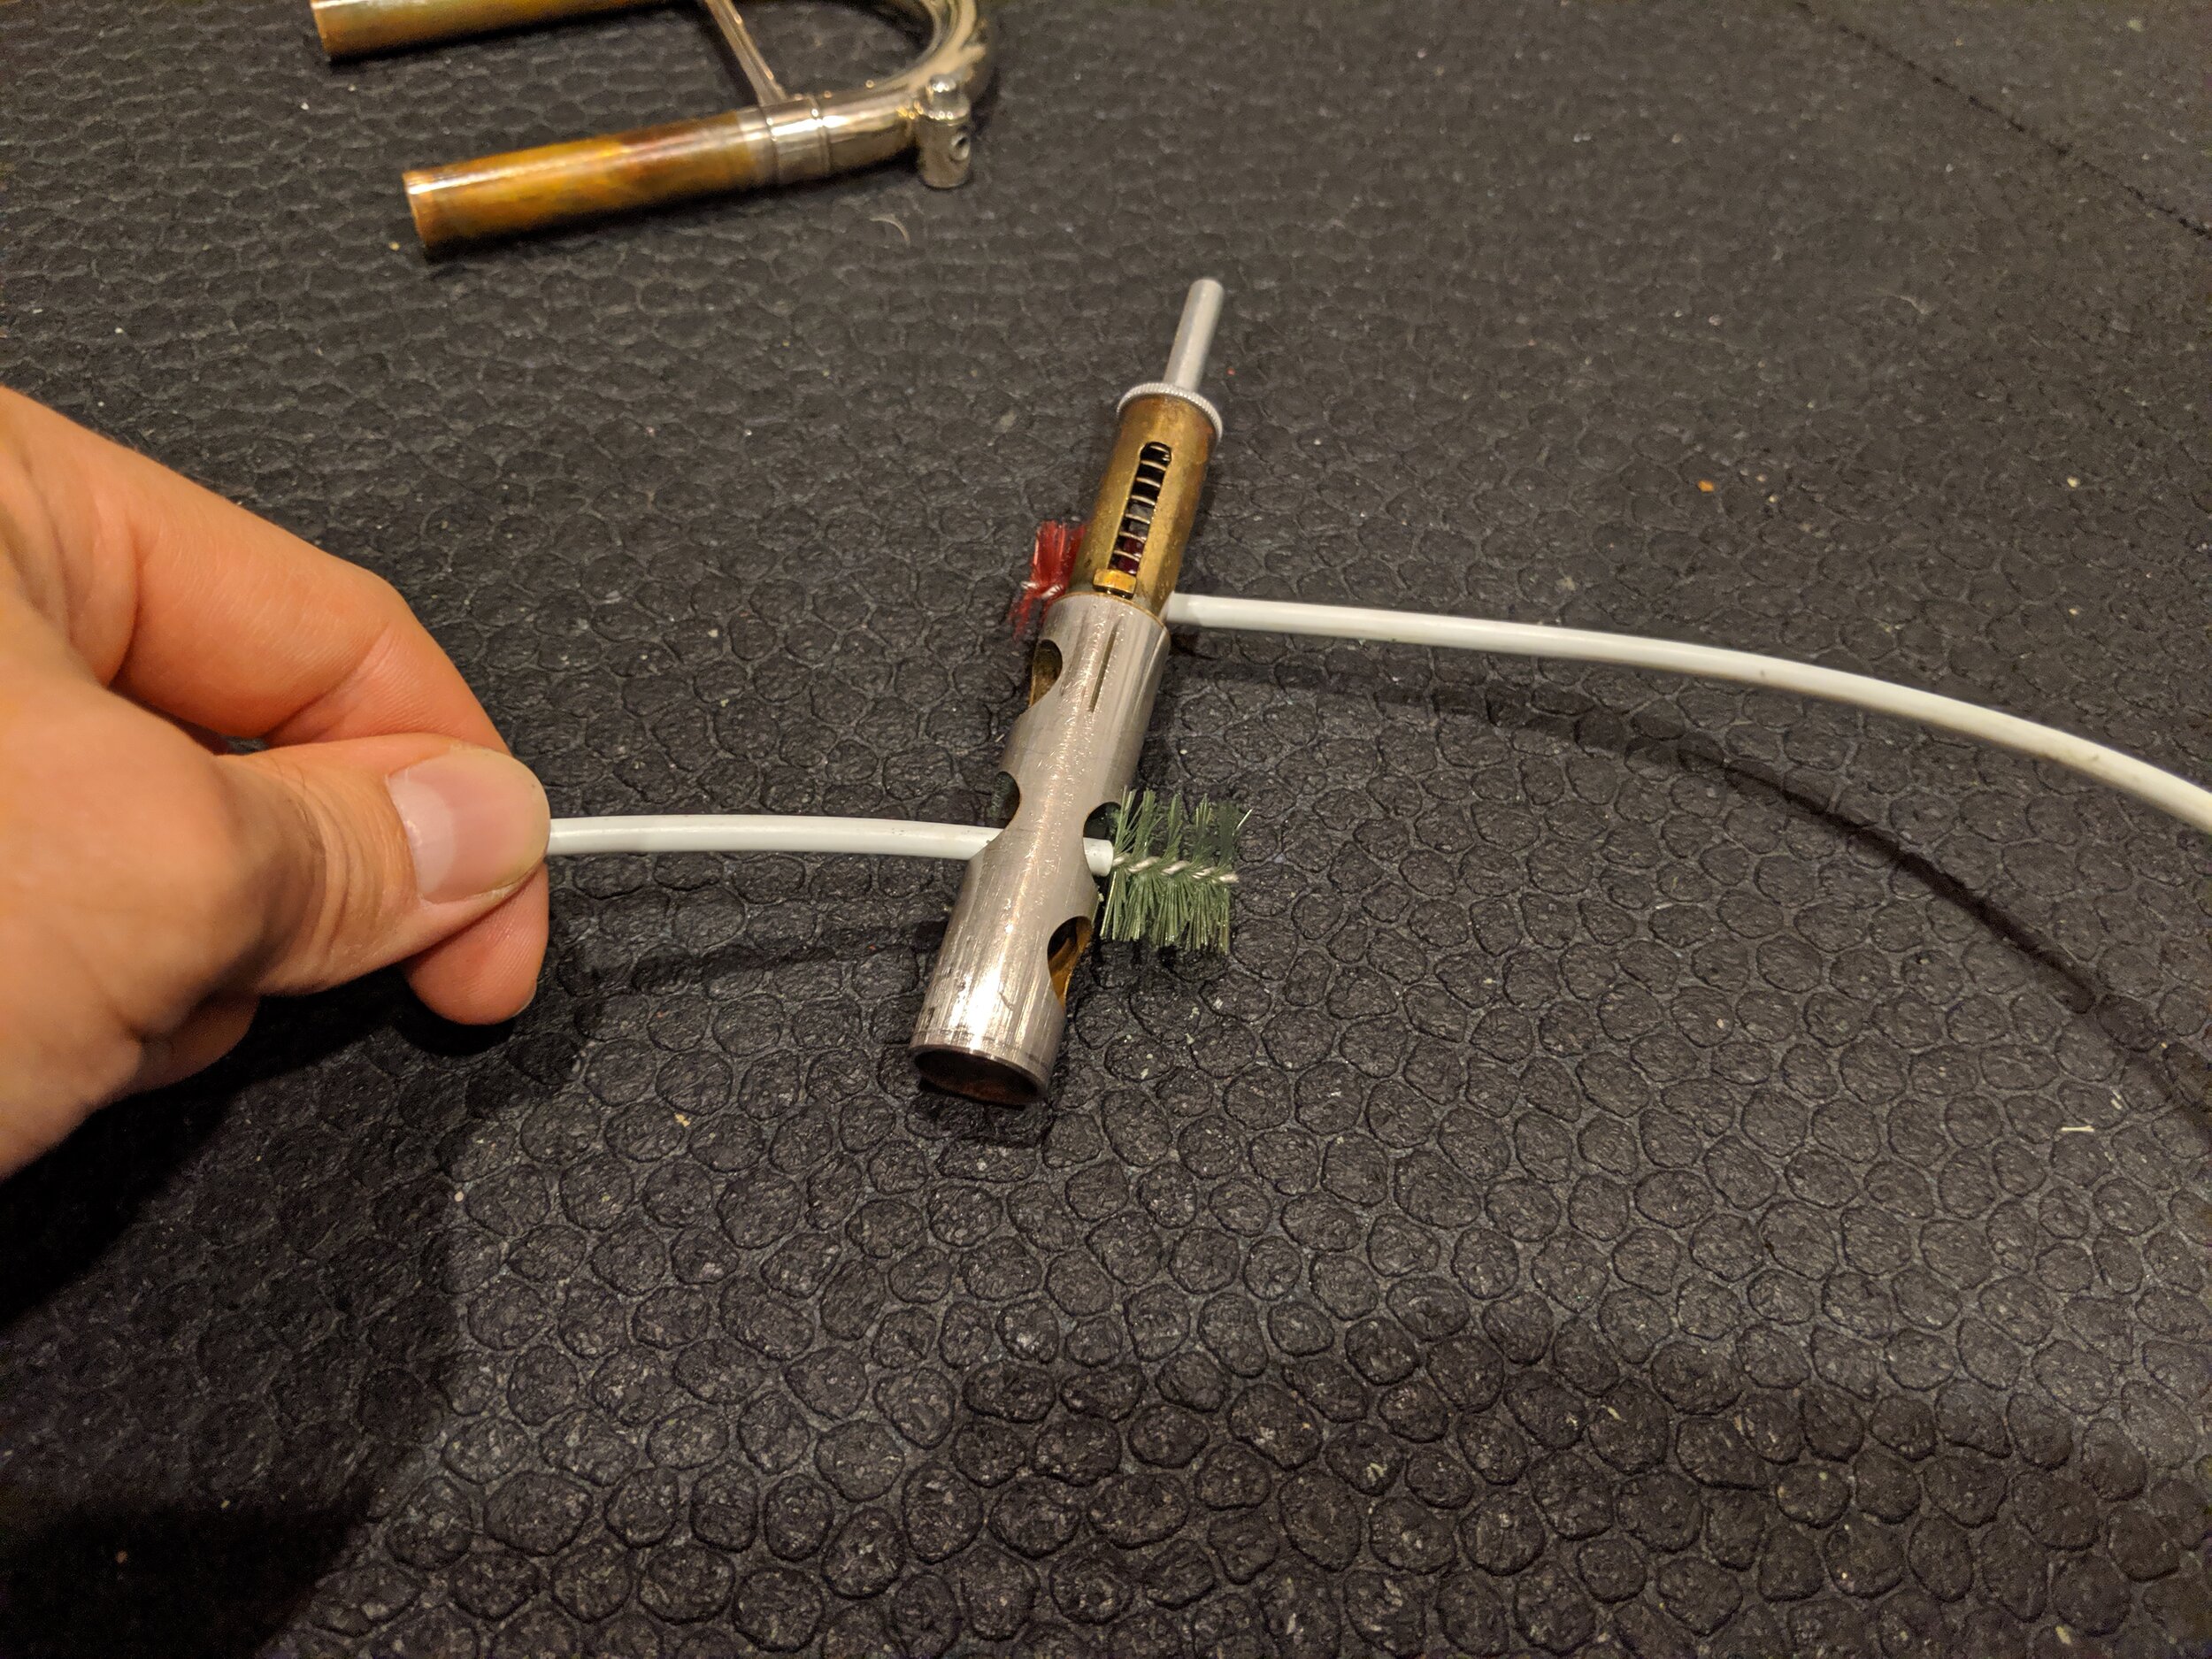
The snake brush is really just a small brush on each end of a long wire or coiled spring. It is particularly useful for cleaning through all the slides as it can bend and go through the entire length of them. The leadpipe can be cleaned with the snake brush as well. Though there are specialty brushes made specifically for the leadpipe, since the snake brush can also be used for this (and it works well), I don't see any real advantage and purchasing an additional tool. To clean the valves you should run the snake brush gently through each of the portholes and then rinse them out with the water. The surface of the valves should be cleaned off with a washcloth or rag.
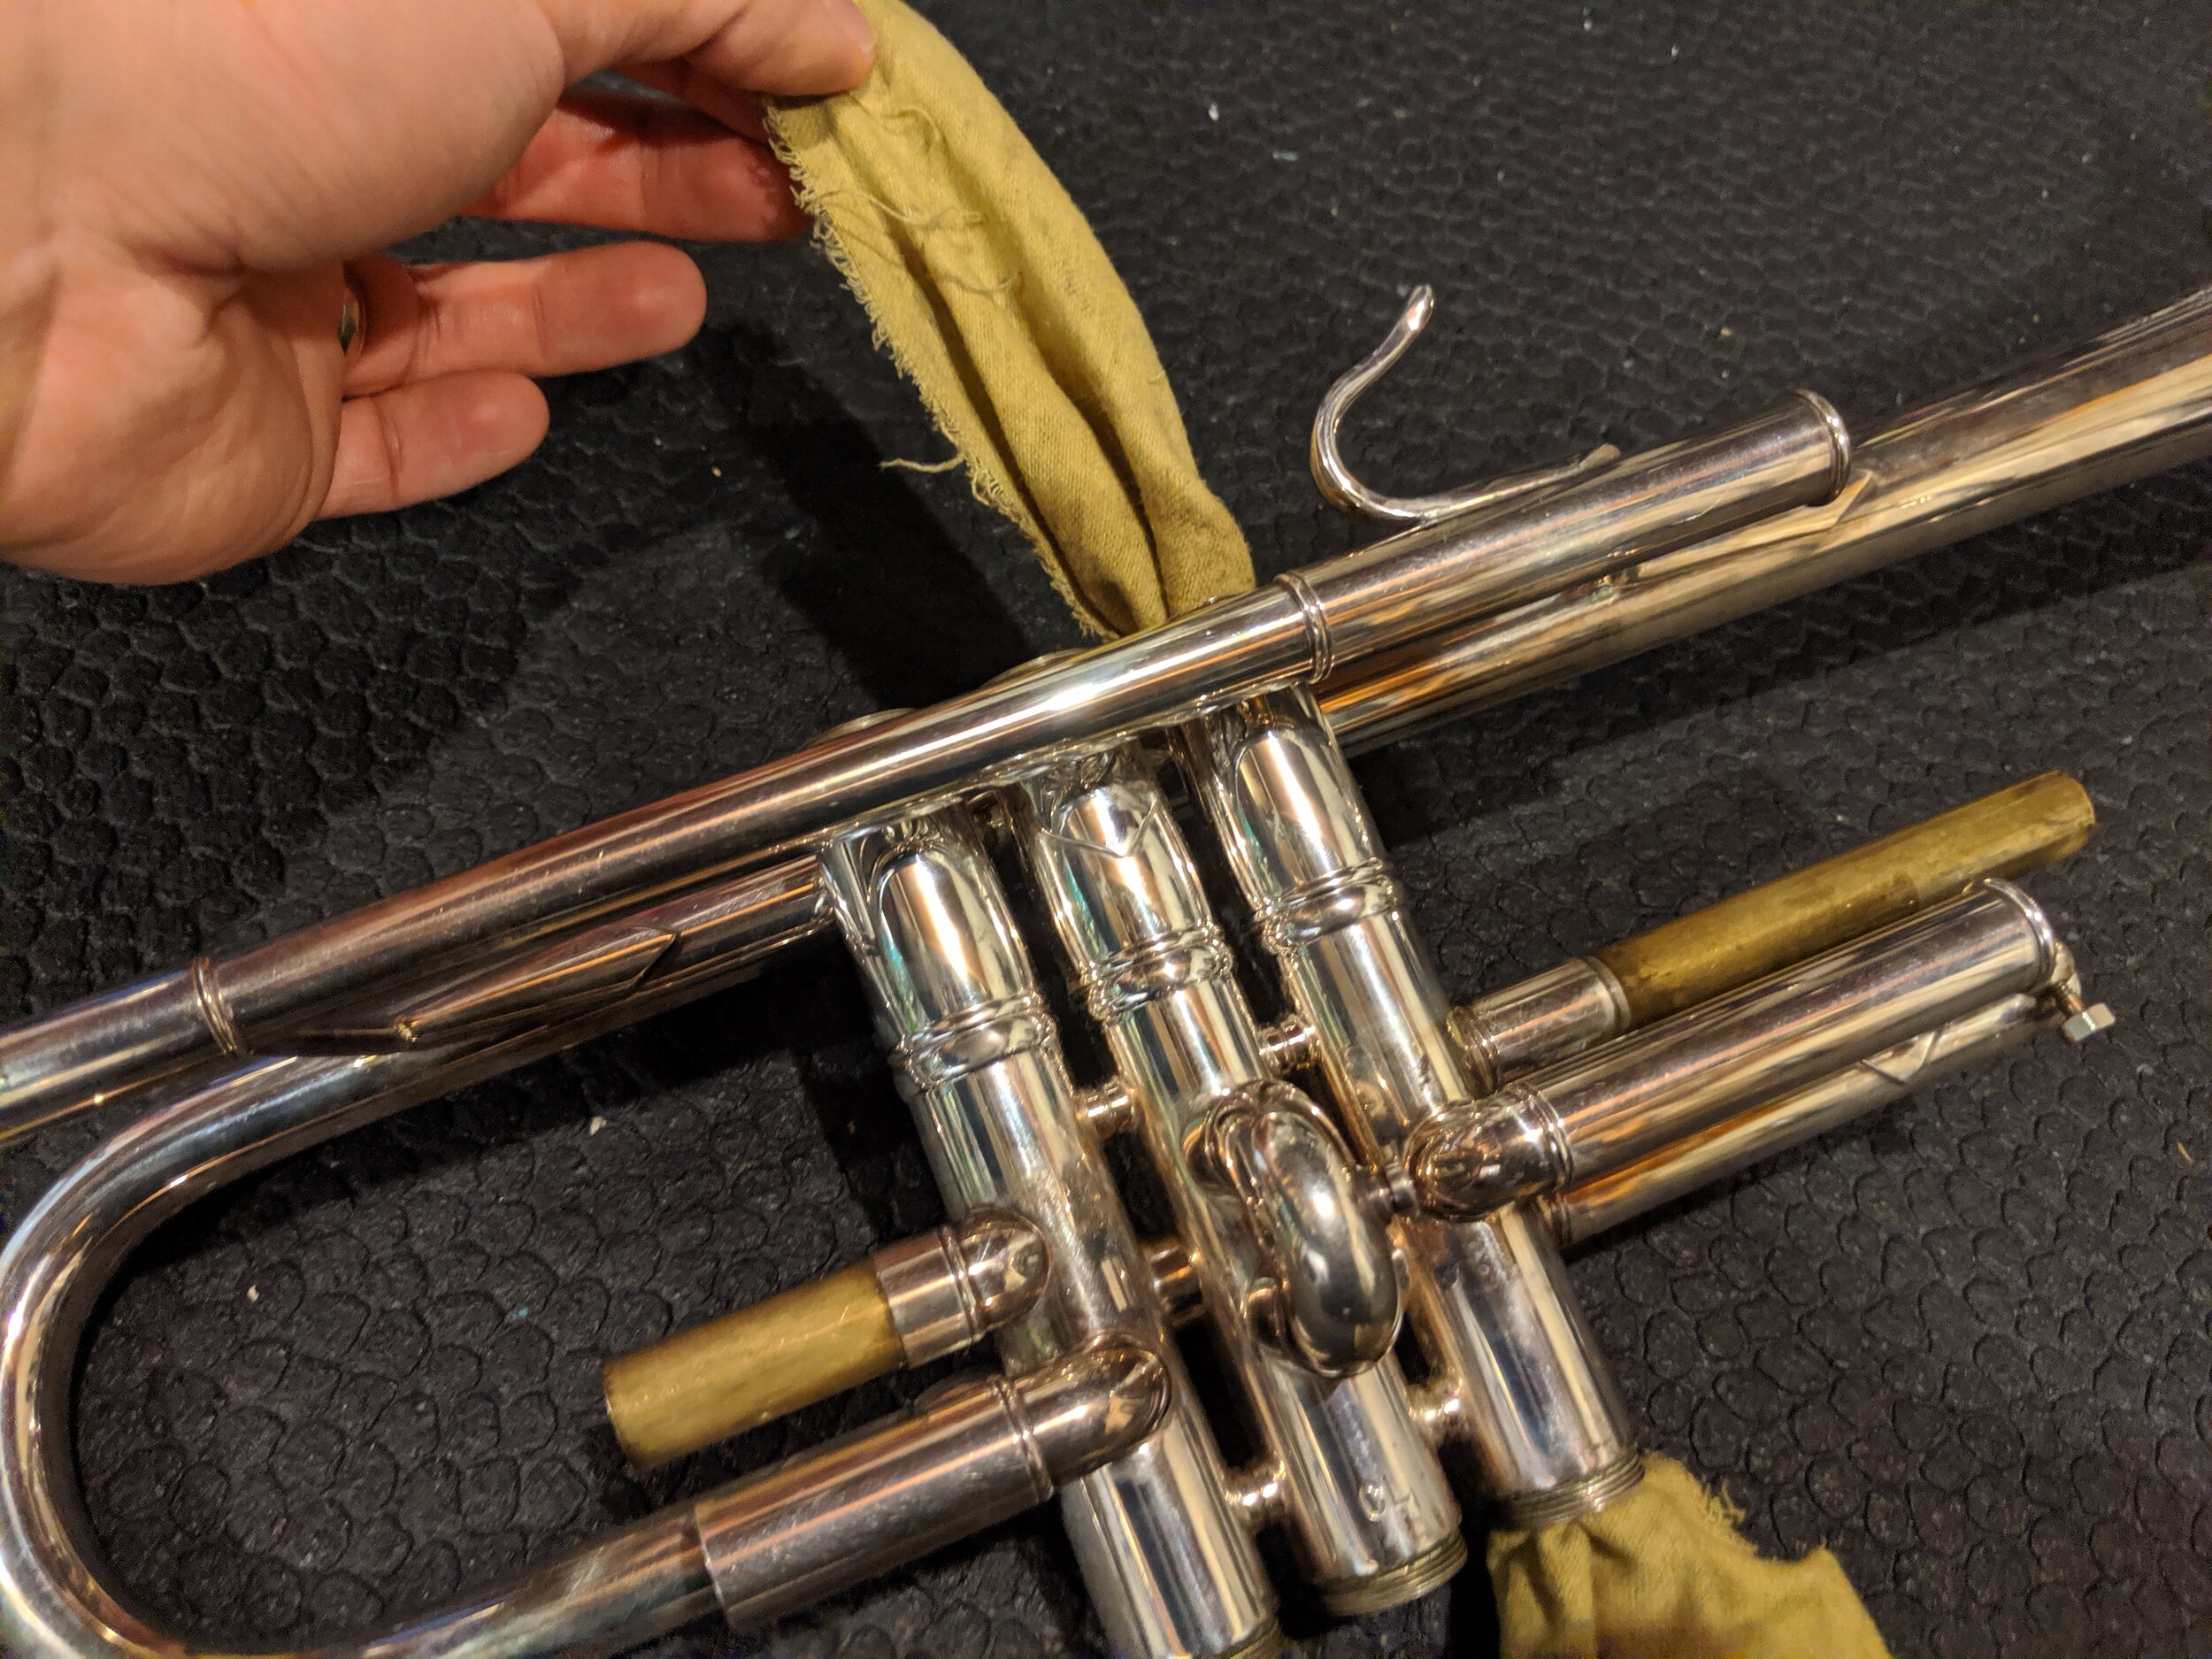
Likewise, the inside of the valve casing can be cleaned with a washcloth or rag that has been rolled up.
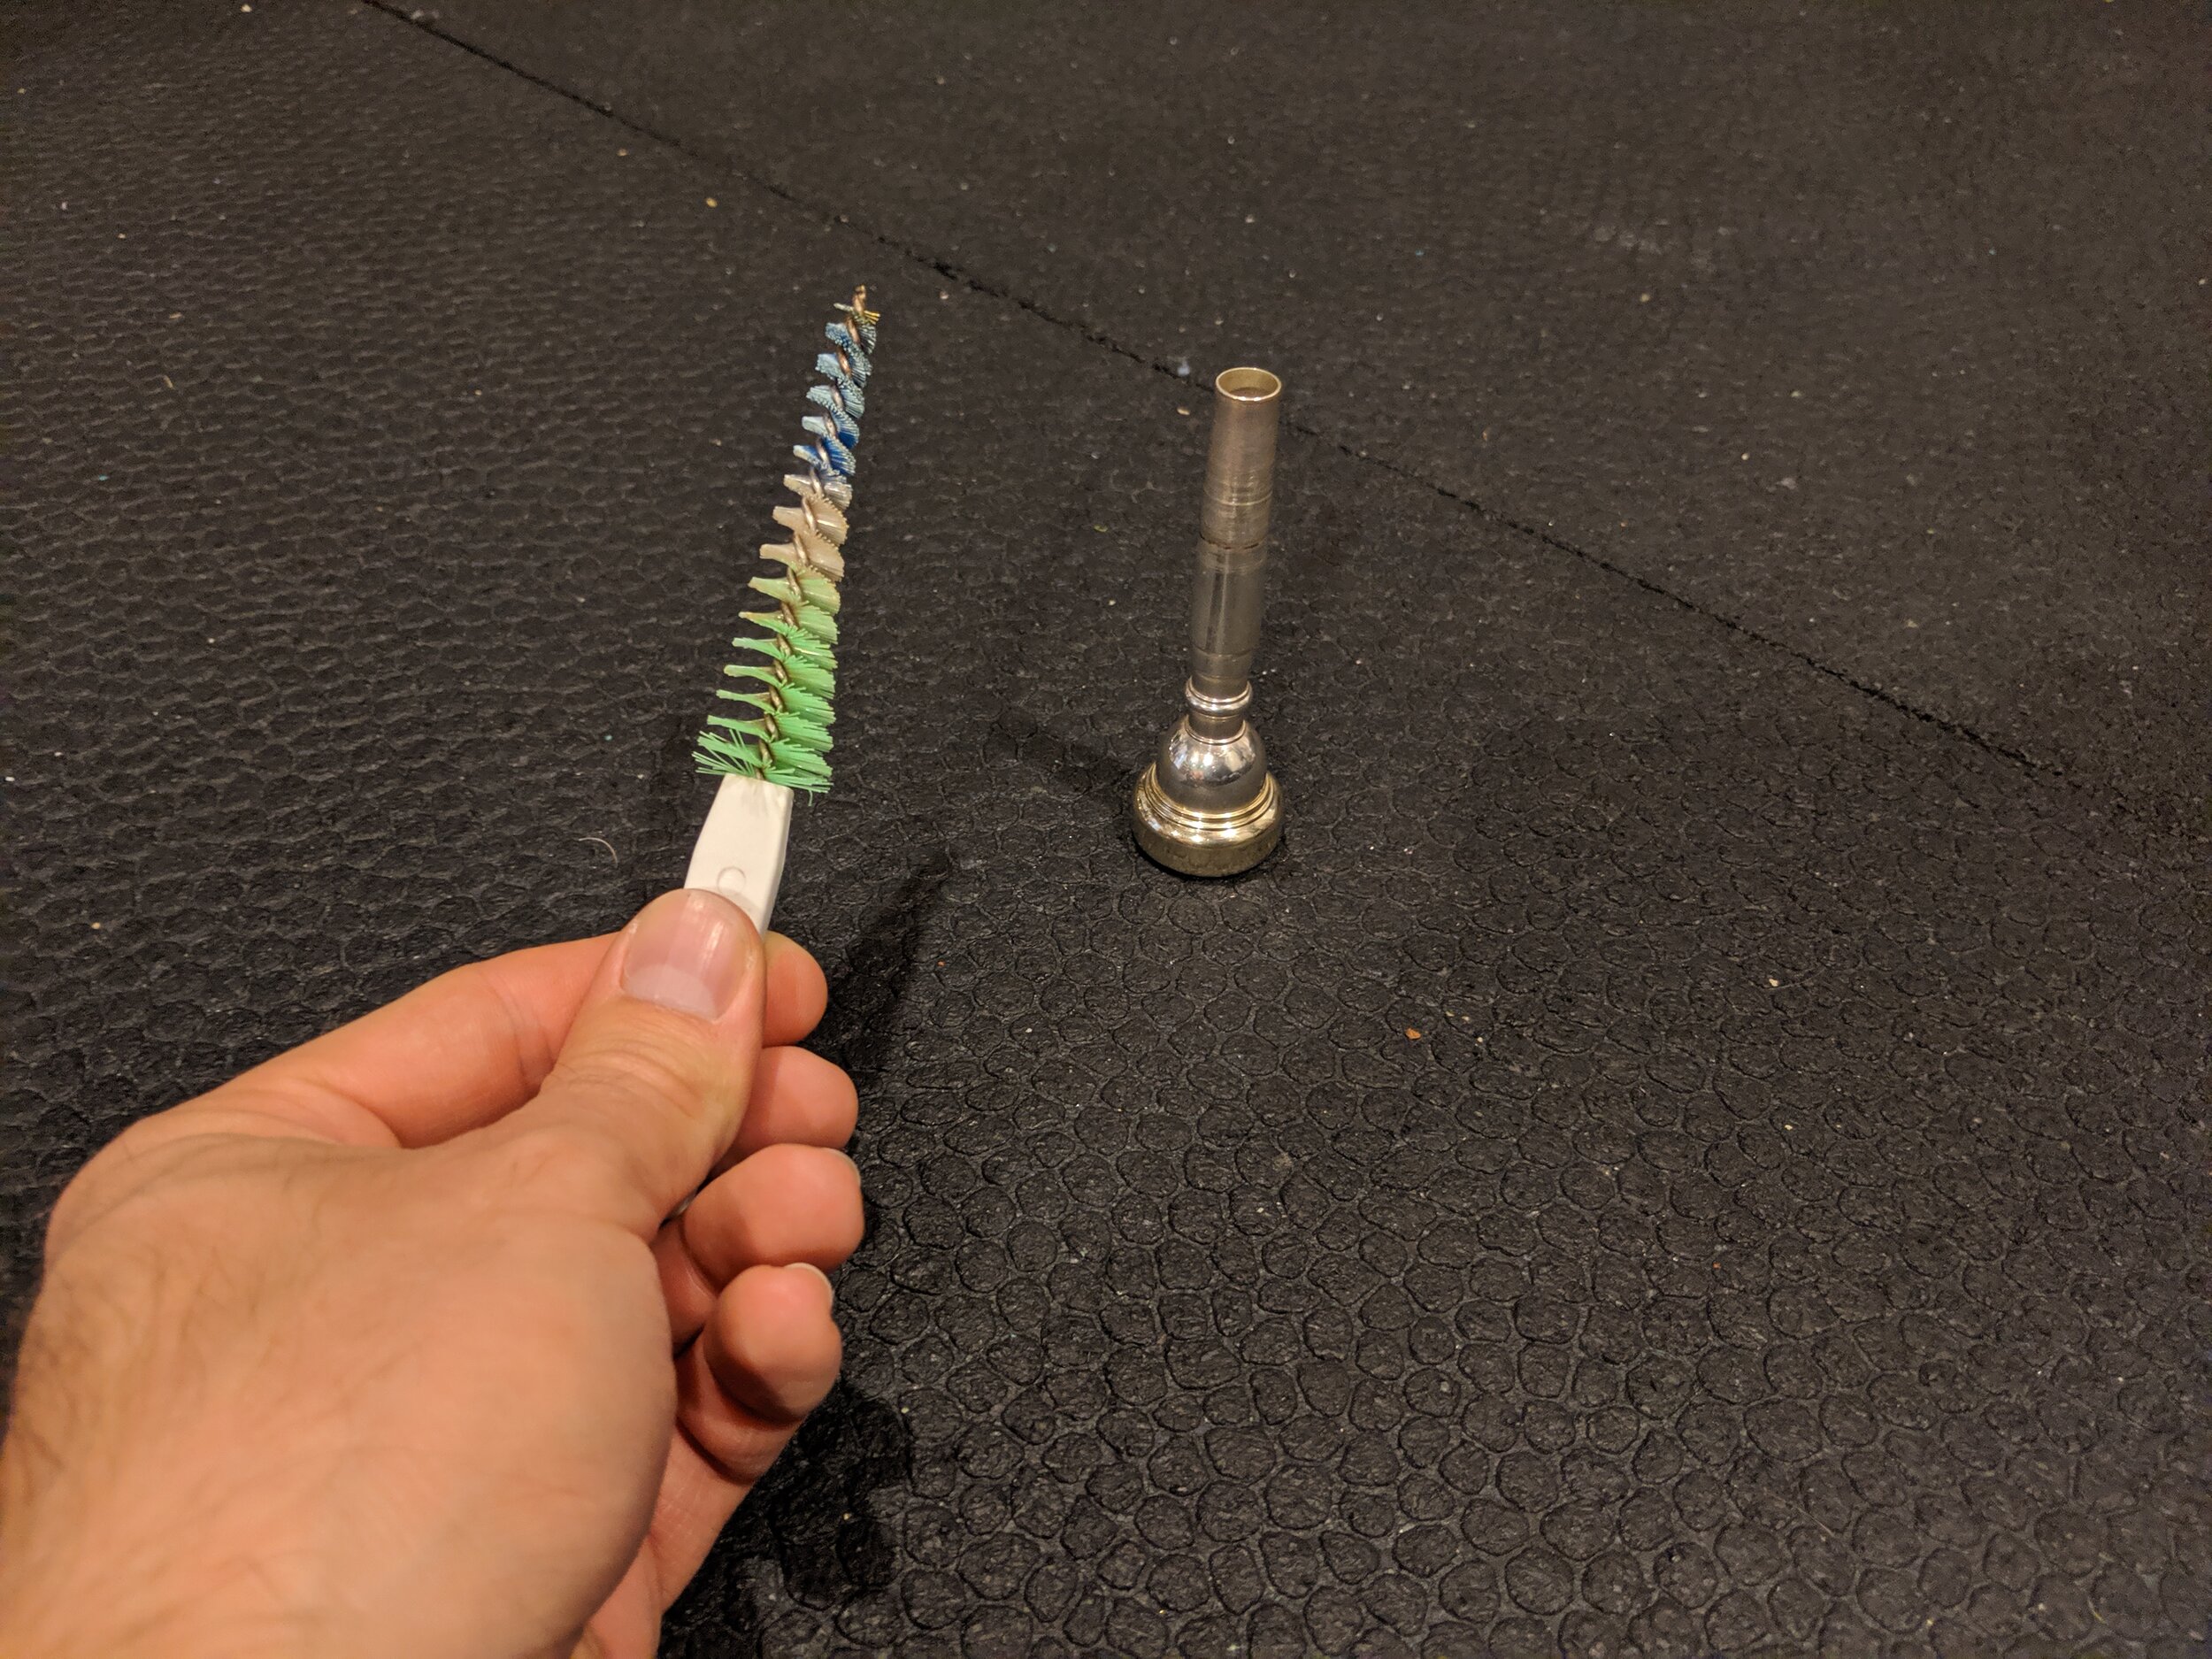
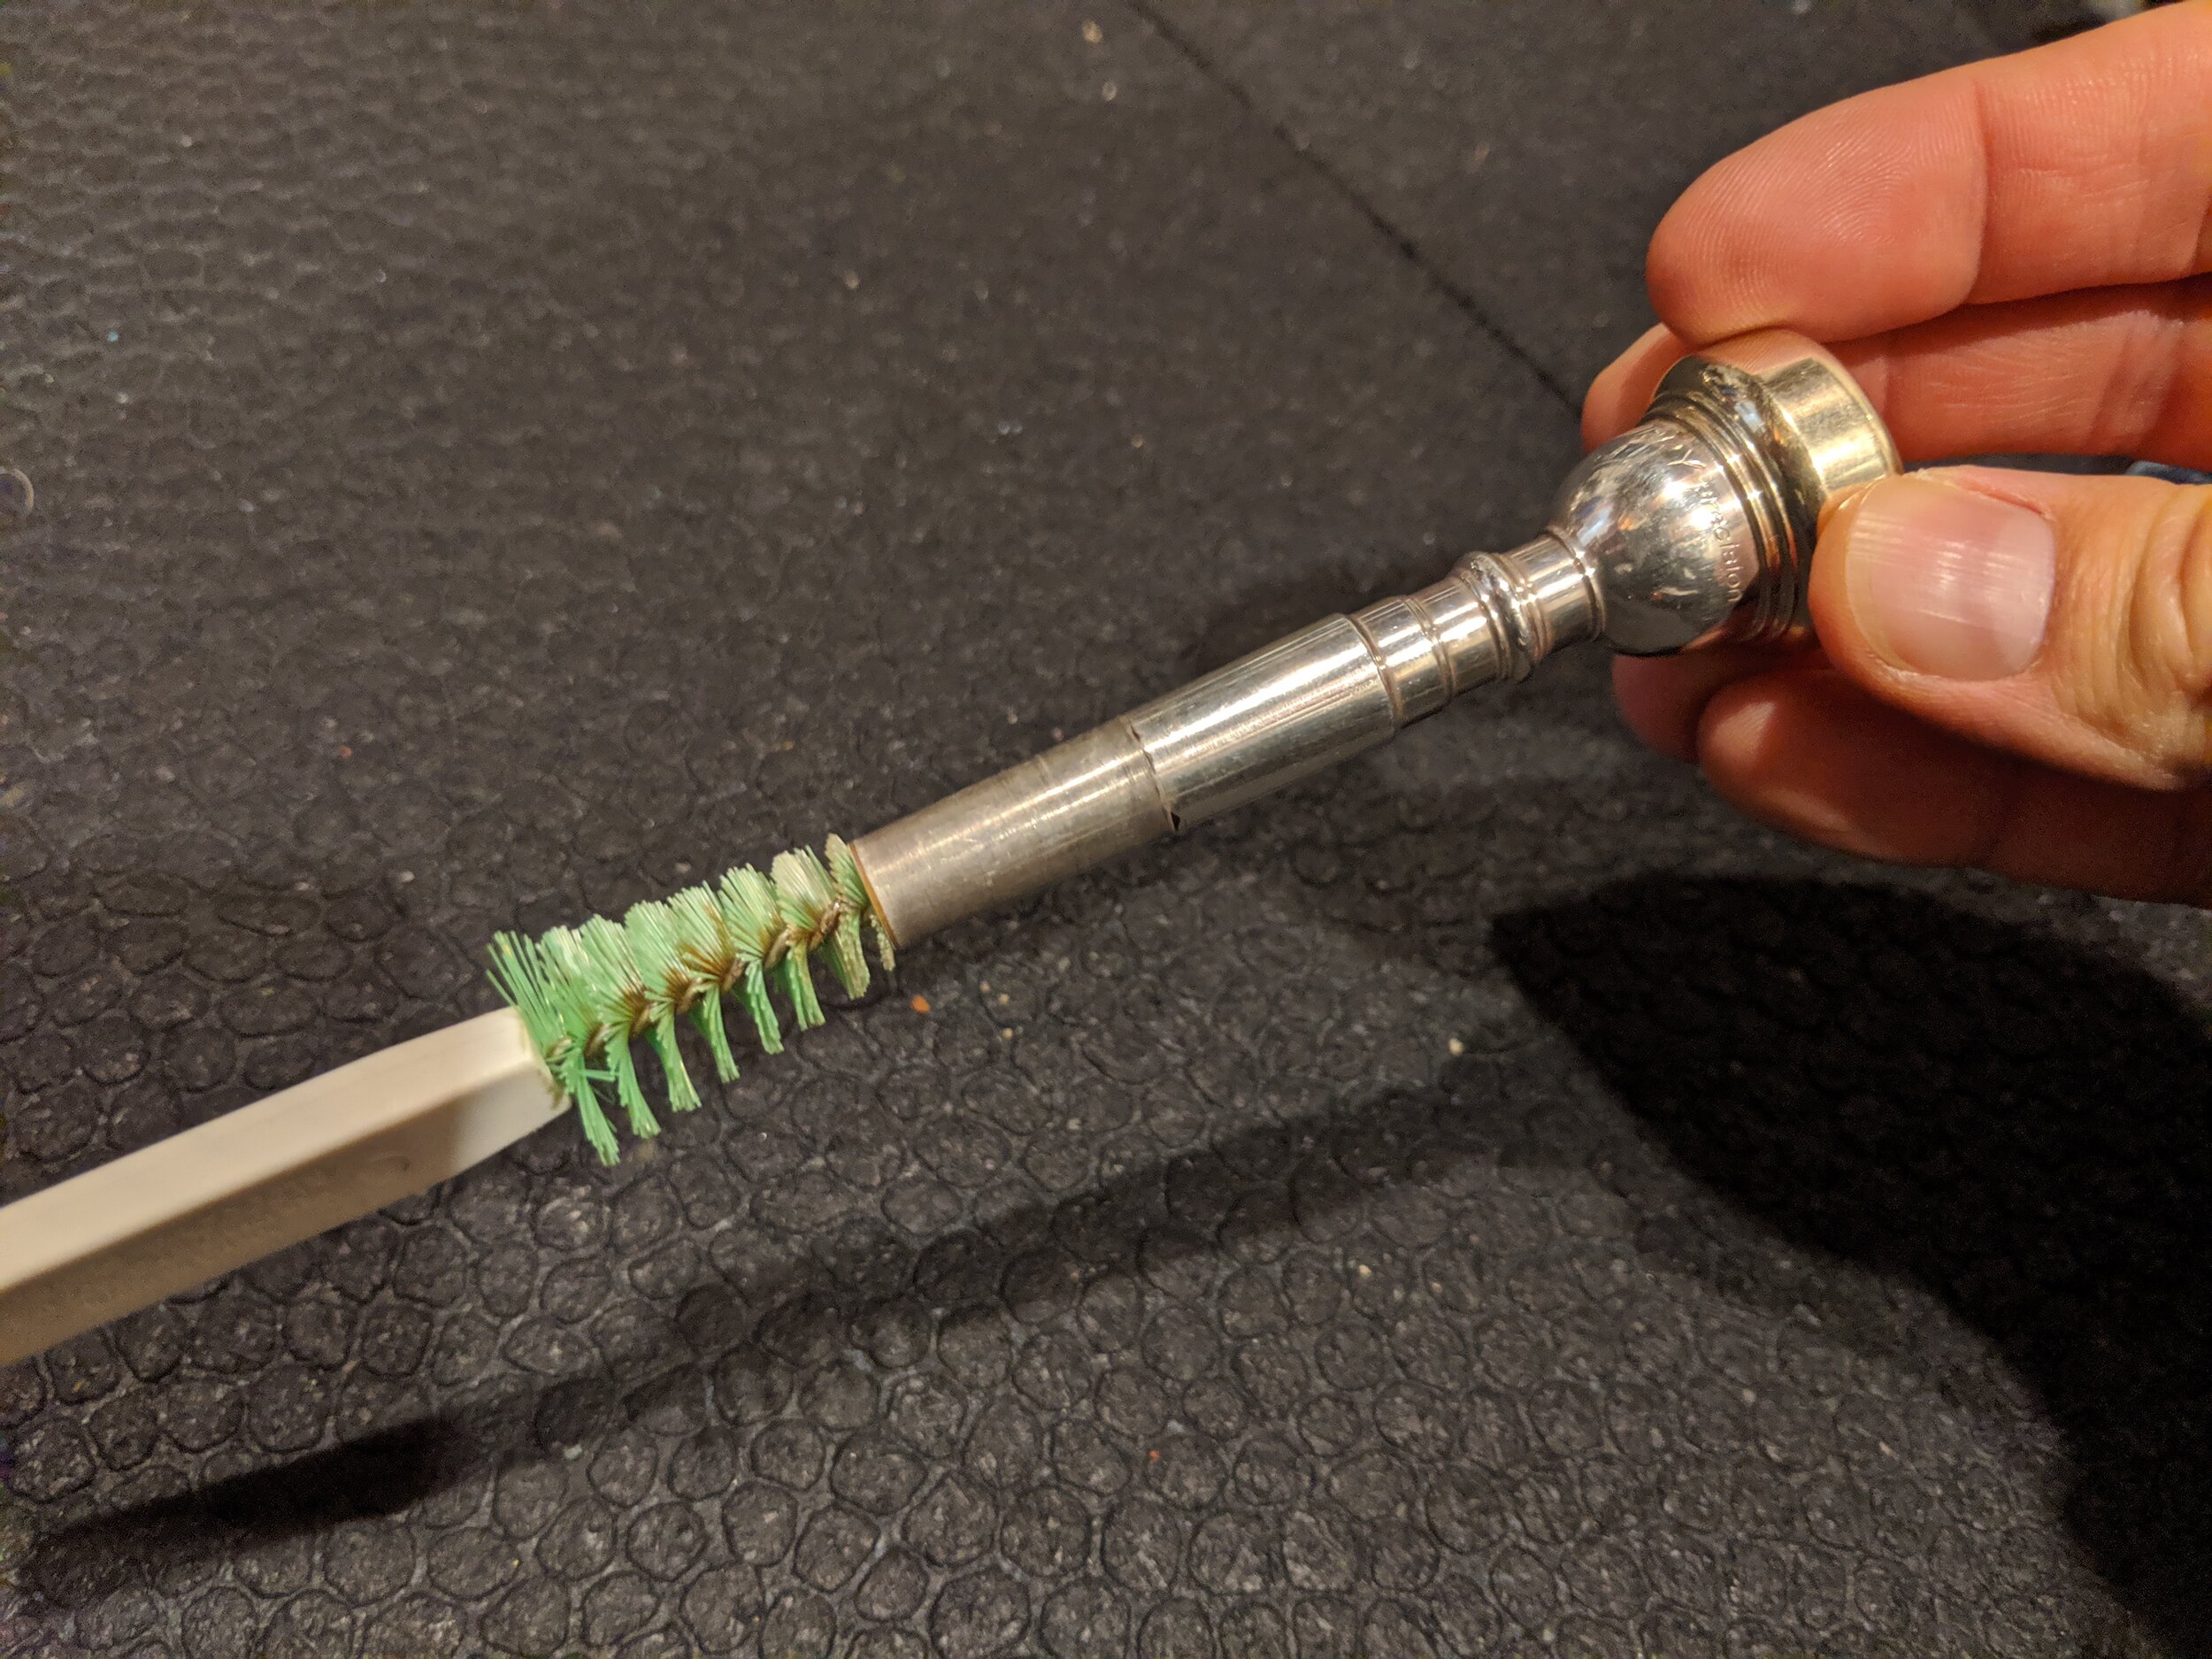
The mouthpiece brush is, as the name would indicate, for cleaning my mouthpiece. (There are also sanitizing sprays made for instruments that can and should be used intermittently between cleanings and especially while sick) The mouthpiece brush will likely only fit into the mouthpiece through the shank and not the cup. That is OK! After using the brushes to not lose any large bits of gunk, use your cup to run water through the mouthpiece and slides.
There are such things as valve casing brushes, and they do a good job of cleaning. The only caution when using one is that the center wire holding the bristles is usually made of a steel that is harder than the brass casings. This means that an over vigorous cleaning could have the potential for scratching the inside of your valve casing. This surface needs to remain absolutely smooth so that the piston valves can move uninterruptedly. Any scratches become both places to accumulate grime more quickly and depending on how deep the scratch is could have a burr on one side which could actually damage the valve itself. Though I personally have a valve casing brush, I almost never use it because I would rather be safe than sorry.
Once everything has been cleaned, rinsed (if you went for the bath), and dried it will be time to reassemble and re-lubricate all the slides and valves as we talked about above. Since there are a lot of small places for water to get trapped inside the trumpet, you may have some gurgling sounds when you start playing again after the bathing process. Don't worry, that is normal. You will just need to use your water key (“spit valve”) to remove the trapped water, probably a few times. Congratulations! You now have a clean trumpet.
But wait! What about the outside of the trumpet? Well, that part’s super easy. If your trumpet has a lacquered finish (if it looks like brass, it’s probably lacquered), simply wipe it down with a soft cotton or microfiber cloth. Any gentle cleaner can help with this, including a spritz of plain old water. If your trumpet is silver plated, you can clean up fingerprints the same way, but to remove tarnish (where it’s turning brown, black, or even purple), you’ll need to apply a silver polish or use a cloth labelled specifically for silver. These cloths are super convenient, can be found at any reputable music store, and will last for many years. I’ve only purchased two in the past twenty or so years. The only bit of caution is that the silver cloths and silver polish often have a black powdery byproduct that can easily get on your clothes and will leave your hands covered as well, so gloves, an apron, or a smock may be a worthy investment.
